FlyoutBehavior
The flyout behavior controls how and when the flyout of the auto hide area is opened and closed. RadDocking comes with two implementations of the IFlyoutBehavior - ClickFlyoutBehavior and HoverFlyoutBehavior.
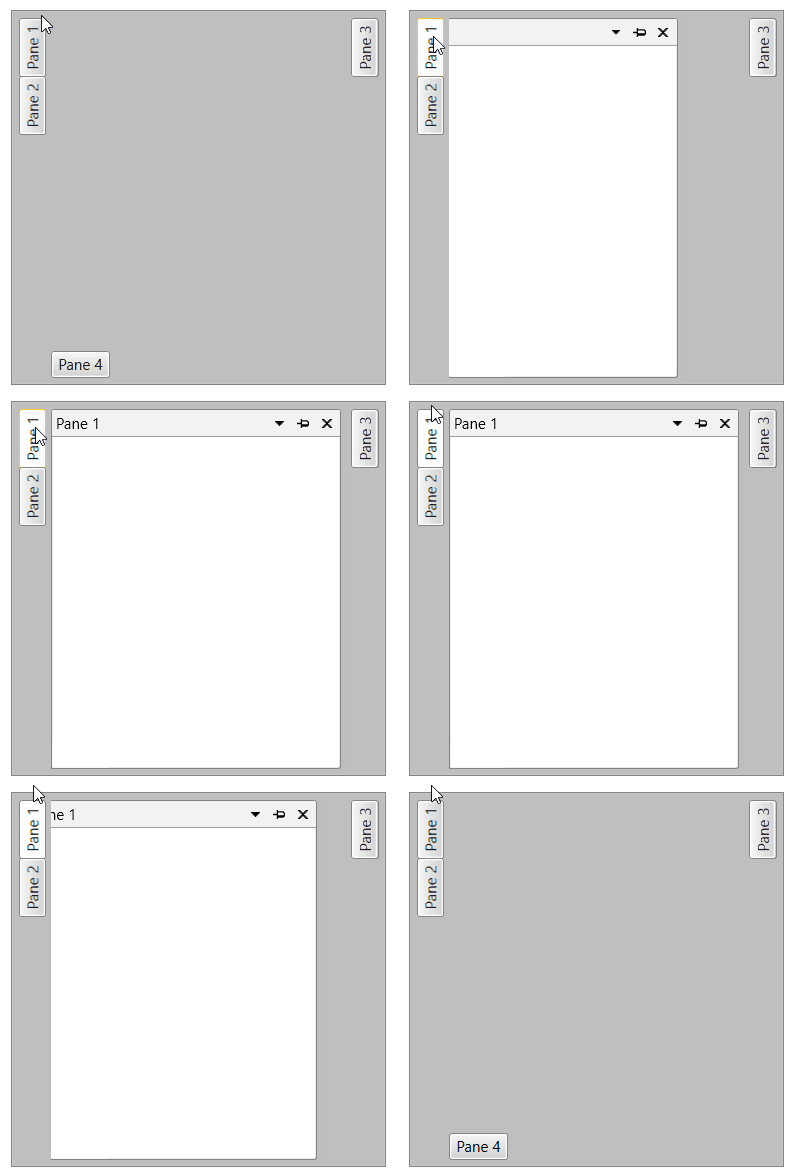
HoverFlyoutBehavior
This is the default behavior. It opens the flyout on hover (mouse over) or activation of a pane inside the auto hide area. The flyout closes when the mouse leaves it.
 .
.
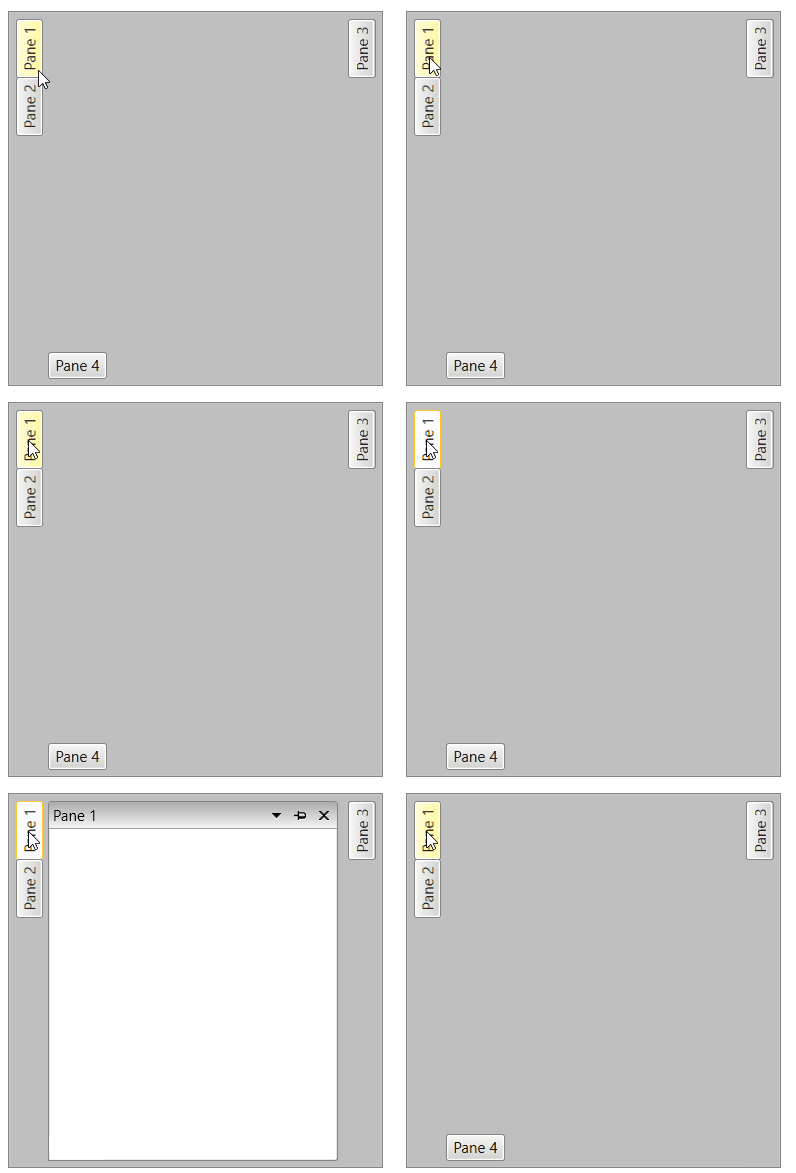
ClickFlyoutBehavior
It opens the flyout on click or activation of a pane inside the auto hide area. The flyout closes on second click on the pane or when the pane gets deactived.
 .
.
Setting Flyout Behavior
To set or get the current flyout behavior use the FlyoutBehavior property of RadDocking.
Example 1: Setting flyout behavior
<telerik:RadDocking.FlyoutBehavior>
    <telerik:ClickFlyoutBehavior/>
</telerik:RadDocking.FlyoutBehavior>
Custom Flyout Behavior
To create a custom flyout behavior, implement the IFlyoutBehavior interface. The interface requires the following methods to be implemented:
OnClosingTimerTimeout: Called when the time of the close timer is up. Commonly the close animation is started here. The close timer is started by calling the StartCloseTimer method of the IFlyoutHost.
OnMouseEnter: Called when the mouse enters a RadPane.
OnMouseLeave: Called when the mouse leaves a RadPane.
OnOpeningTimerTimeout: Called when the time of the open timer is up. Commonly the open animation is started here. The open timer is started by calling the StartOpenTimer method of the IFlyoutHost.
OnPaneActivated: Called when a RadPane is being activated.
OnPaneDeactivated: Called when a RadPane is being deactivated.
OnPaneMouseLeftButtonDown: This method is called when a pane receives the MouseLeftButtonDown event (i.e. when the user clicks it).
The following example shows how to implement a custom behavior that opens the flyout on click and animates the opening and closing.
Example 2: Custom flyout behavior
public class AnimatedFlyoutBehavior : IFlyoutBehavior
{
    void IFlyoutBehavior.OnPaneActivated(IFlyoutHost host, RadPane targetPane)
    {
        host.SetSelectedPane(targetPane);
        if (host.CurrentState == FlyoutState.Closed)
        {
            host.StartOpenAnimation();
        }
    }

    void IFlyoutBehavior.OnPaneDeactivated(IFlyoutHost host, RadPane targetPane)
    {
        var selectedPane = host.SelectedPane;
        if (selectedPane != null && !selectedPane.IsActive && host.CurrentState == FlyoutState.Opened)
        {
            host.StartCloseAnimation();
        }
    }

    void IFlyoutBehavior.OnPaneMouseLeftButtonDown(IFlyoutHost host, RadPane targetPane)
    {
        if (host.CurrentState != FlyoutState.Opened)
        {
            host.StartOpenAnimation();
        }
        else
        {
            host.StartCloseAnimation();
        }
    }

    void IFlyoutBehavior.OnMouseEnter(IFlyoutHost host, RadPane targetPane)
    {
    }

    void IFlyoutBehavior.OnMouseLeave(IFlyoutHost host)
    {
    }

    void IFlyoutBehavior.OnOpeningTimerTimeout(IFlyoutHost host)
    {
    }

    void IFlyoutBehavior.OnClosingTimerTimeout(IFlyoutHost host)
    {
    }
}
Example 3: Setting the custom flyout behavior
<telerik:RadDocking.FlyoutBehavior>
    <local:AnimatedFlyoutBehavior/>
</telerik:RadDocking.FlyoutBehavior>
A runnable project with this example can be found in the ClickFlyoutBehaviorWithAnimation SDK example.
Flyout Min Length
The flyout popup element has a default minimum length of 50px. To change this, set the FlyoutMinLength property of RadDocking. The property value applies to the width of the left and right auto-hide area flyouts and to the height of the top and bottom auto-hide area flyouts.
Example 2: Setting the minimum size of the flyout popup
<telerik:RadDocking FlyoutMinLength="150">