Before receiving notification or other emails, you must first supply TeamPulse with information for your SMTP server. These settings can be modified from the TeamPulse Settings page.
- Open Email Settings page, go to Settings -> Configuration -> Notification Settings
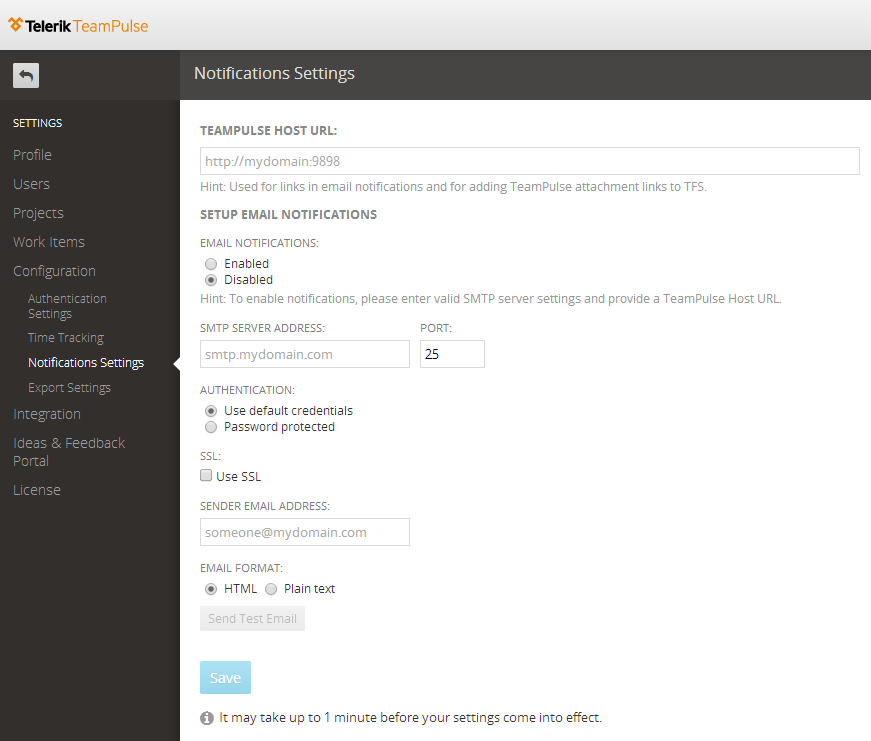
- Enter the URL where TeamPulse is hosted. This will be used in the email body content to link back into TeamPulse. This URL is also required by TFS Sync to link back into TeamPulse from TFS. Example: http://my-teampulse-server:9898

- Enter the settings that TeamPulse needs in order to send notifications & other emails:
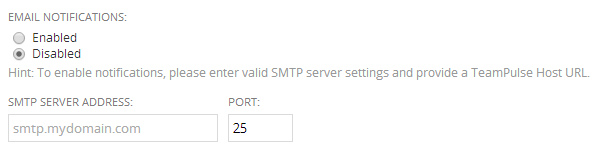
- To enable notifications across all TeamPulse projects choose "Enable Email Notifications" radio button. This radio button is considered to be a "master switch" for all email sending from TeamPulse.
- Enter the URL address where the SMTP server is hosted (example: 192.168.0.123 or mail.yourcompany.com)
- Enter the port which the SMTP server is using (default is 25)
- Choose the Authentication method (Default credentials or Password protected).

If you select “Password protected” method you have to provide credentials in order to send the notifications.
- Check the SSL checkbox if you want to enable SSL
- Enter the from email address that all notifications will be sent with. Note: this does not need to be an active email address, and can instead be a no-reply address.
- The Send a test email button will attempt to validate and use your notification settings to send an email to a specified address.
- You can also choose between HTML formatted and plain text mails
- Save the changes
Note that notifications can be easily disabled for all users by opening the notifications settings page and choosing “disable email notifications…” radio button.