Personas
Defining Personas
To create, edit or delete personas go to the project setting page and choose the “Personas” tab.
To manage personas you must have permission to edit project settings (project admin). If the Personas link is not visible you may not have the permissions for the project.
In the “Personas” tab all the personas in the project are listed with information about image, name and how many stories are related to each. To view the related stories click on the link.

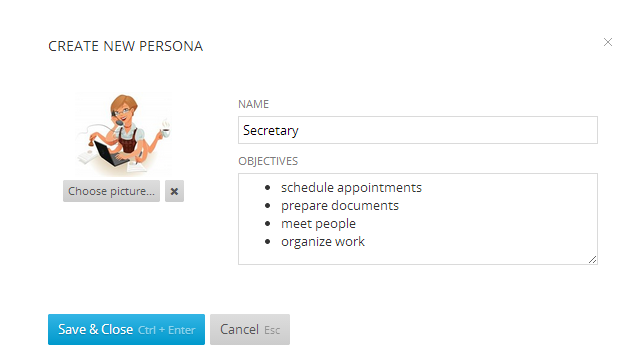
To create new persona click the “New Persona” button. Use the opened window to give live of your persona – specify name, upload a picture and add a rich description of a persona’s goals, objectives, constraints and day to day realities. Then click Save & Close button and the persona will be added to the project.

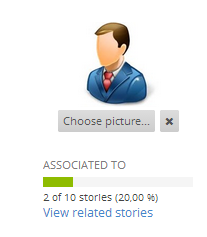
To edit existing persona click on its row and then click the edit button above. In the edit persona window you can see a bar showing the usage of the persona.

To delete a persona from a project first click on its row and then click the trash icon.
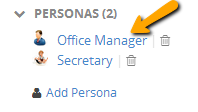
If you have the corresponding permissions you can edit the personas from the info tab of a story by clicking on the name of the related persona.

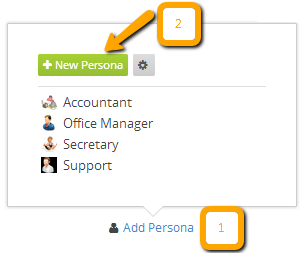
You can also add a new persona from there by clicking the Add Persona button and then on the New Persona button. When the persona is saved it will be automatically added to the opened story.

Disabling Personas
Personas can be disabled or enabled from project's General Settings.
