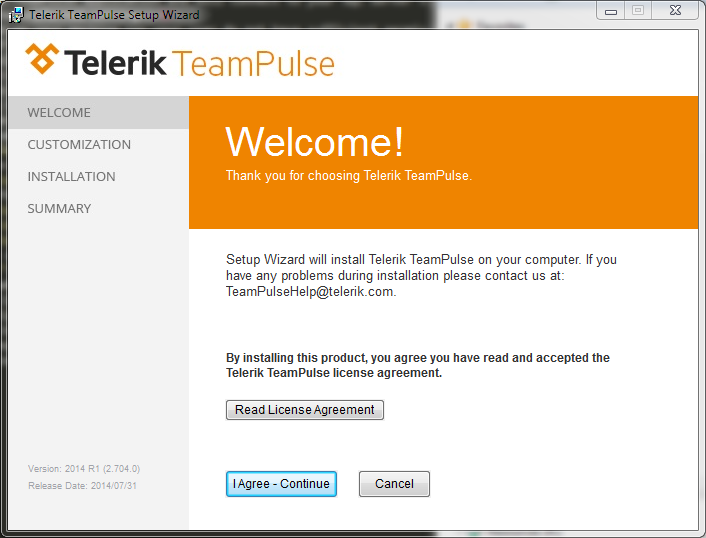
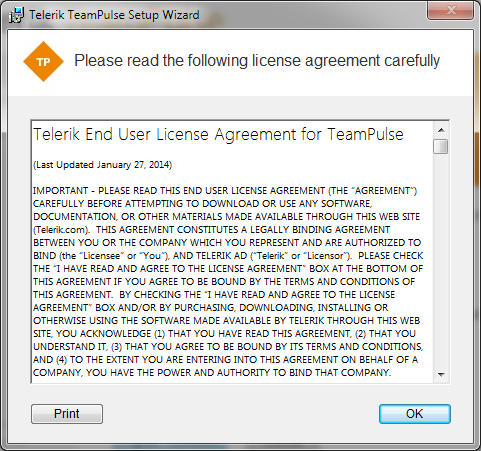
Run the TeamPulse installer msi Examine the welcome screen. You can read the License Agreement by clicking the "Read License Agreement" button. To proceed with the installation click
I Agree - Continue.
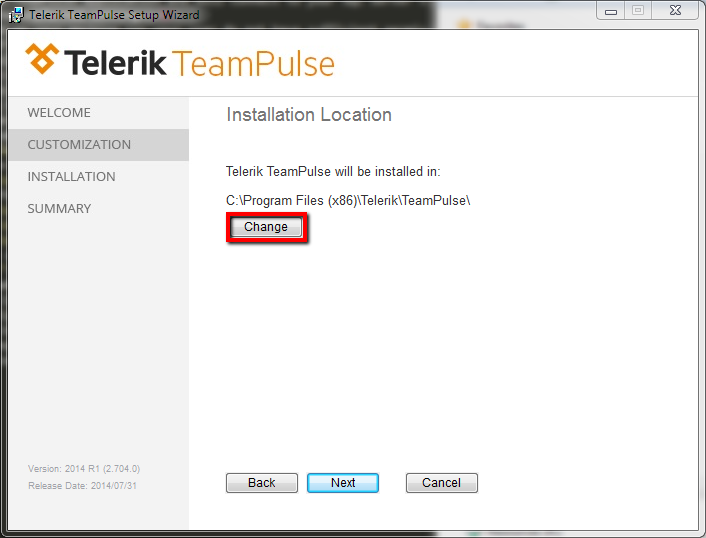
Choose installation location for TeamPulse. You can change the default folder by clicking the "Change" button and selecting another location. You can continue by clicking
Next.
The installer investigates if your system meets the pre-requisites. If they are met, you can continue by selecting “
Next”. If any of the requirements are not met you can choose to
configure web server automatically during installation.
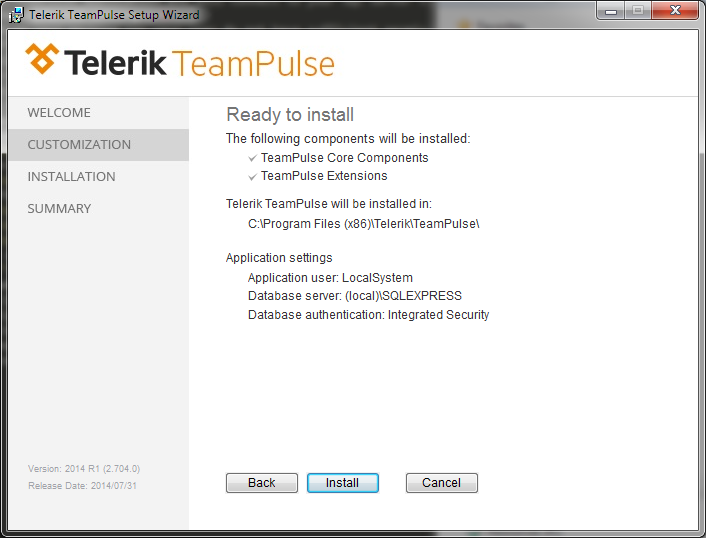
Click
Install.
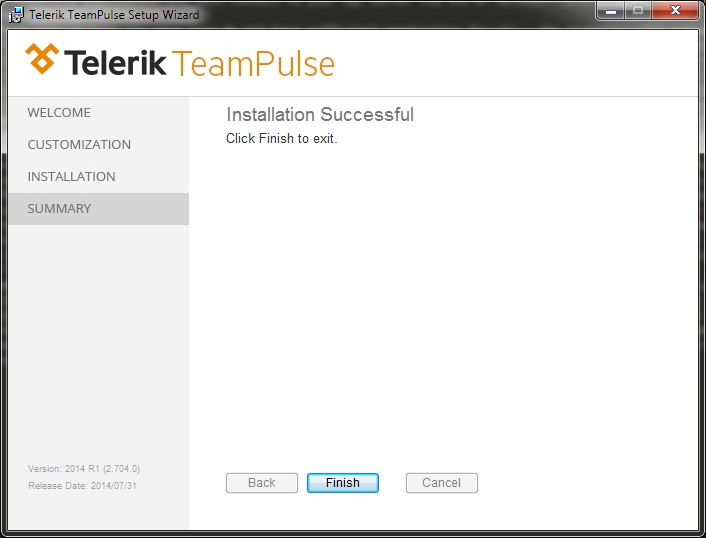
TeamPulse is now installed on your server.
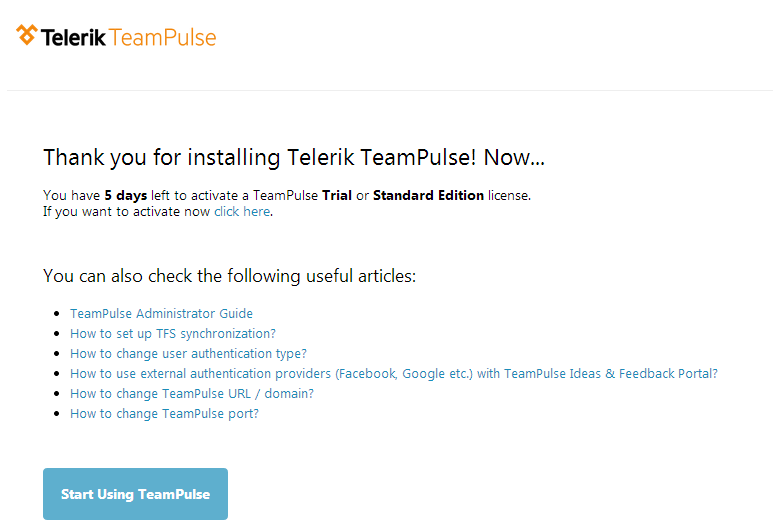
Upon completion the installer will launch the welcome page, which will provide guidance and quick access to TeamPulse resources.
After installation you will have a 5 days period in which you can quickly start using TeamPulse without activating any license. After that TeamPulse must be activated with a
standard or
trial license in order to be used. For more information, please refer to the License Management page. Users must be authorized via the user management site before they can access and use TeamPulse. For more information on how to authorize users in a TeamPulse instance, please see User Management.Installation Steps
A)
Express: choose it for a quick and easy installation. This setup type does not require the user to provide any information.
(The Express setup type will use the
LocalSystem account to run the TeamPulse application and will connect to your SQL Server via the NT AUTHORITY\SYSTEM user. If you prefer TeamPulse to use some other credentials - you can choose the Custom setup type and set the preferred settings.
If you do not have SQL Server installed on your machine (or your user does not have sufficient permissions to access it) - the installer will automatically download and install a new SQL Server instance and create the TeamPulse database on it. If you do not have internet access - the installer will not be able to provide you with the Express setup type and therefore the Setup Type step will be skipped - the installer will proceed directly with the Custom setup type.
B)
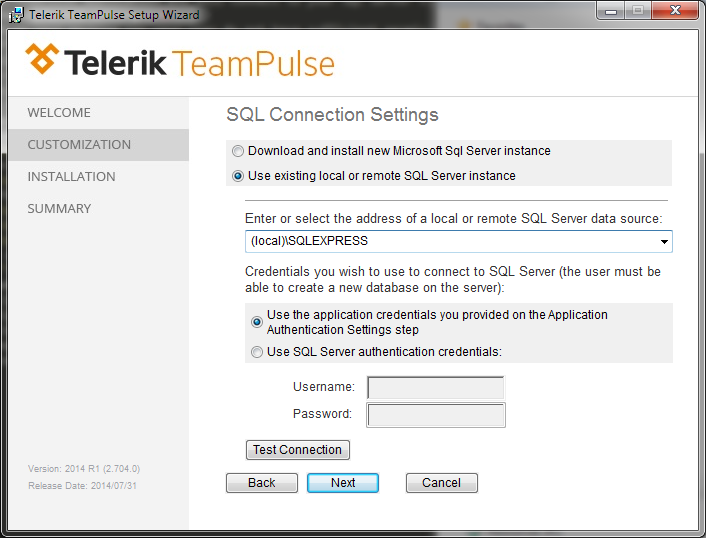
Custom: choose it if you want to customize the settings used by the installer.

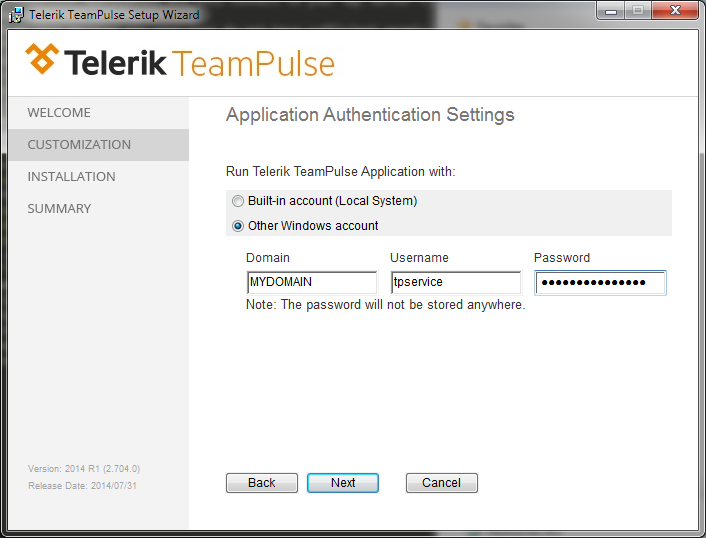
The following steps are related to the Custom setup type:
(These credentials will be used by the TeamPulse application pool in IIS and by the TeamPulse Integration Service)
The standard and trial editions of TeamPulse are the same from an installation perspective. Upon activation you will choose whether you are activating a trial license or a standard license. After a successful activation of your license, TeamPulse will either be the standard edition or the trial edition according to the license details.