Creating an Application and Adding Telerik Controls
The following topic describes what steps you should perform in order to add the Telerik UI for WPF in your application.
There are two ways to do this - the first one is to install Progress Telerik WPF Extension for VisualStudio. The second one is to add the necessary assemblies as references in your application manually. No matter which of the two manners you will choose, you will be able to use the Visual Studio Toolbox to create your application.
Creating Application with the Telerik Visual Studio Extension
Open Microsoft Visual Studio.
-
Create new Telerik WPF application. Read more in the Create Project article.
Figure 1: Creating new Telerik application
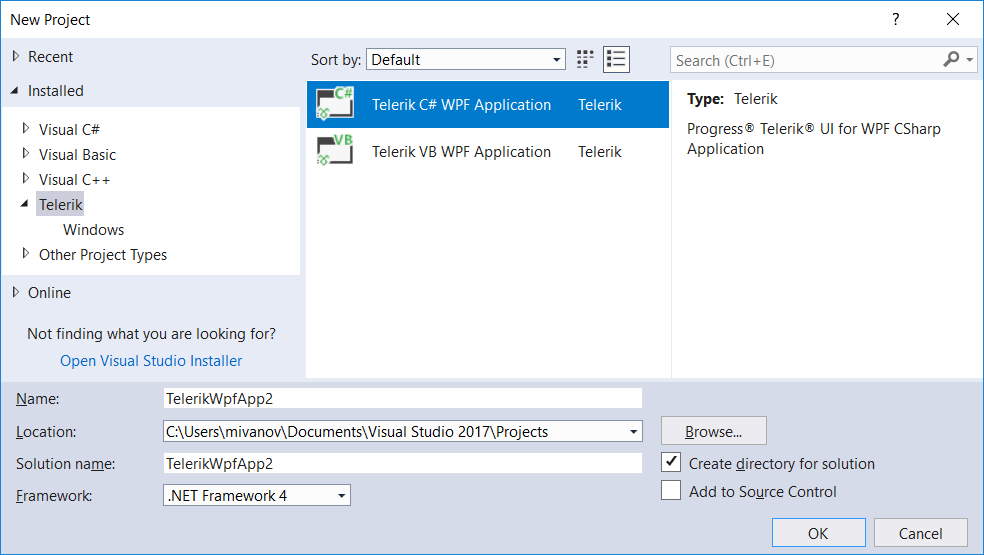
You can choose .Net Framework 4.0 or .Net Framework 4.5 for your application. Also there is a separate project template for .Net Core.
-
Choose the project template. The options are a blank template or one of the MS Office inspired project templates. Choose the Blank option.
Figure 2: Choosing a project template
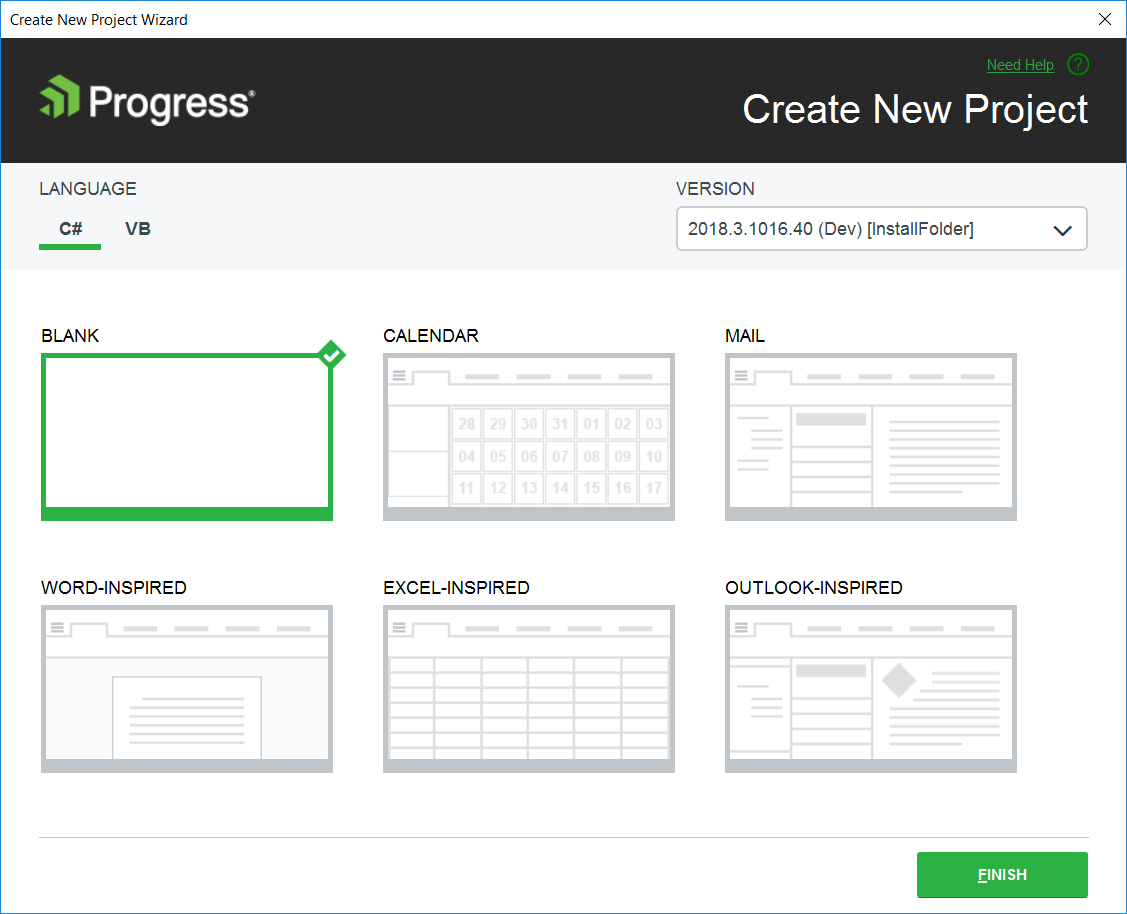
At this point the project references only the common Telerik.Windows.Controls.dll.
-
Configure the project using the Project Configuration Wizard. This will add the dlls required by the controls you want to use. When you open the wizard you can select the control you are going to use from the list (or search them in the search box). Clicking OK will add all required references for the controls.
Figure 3: Adding references to the charting controls
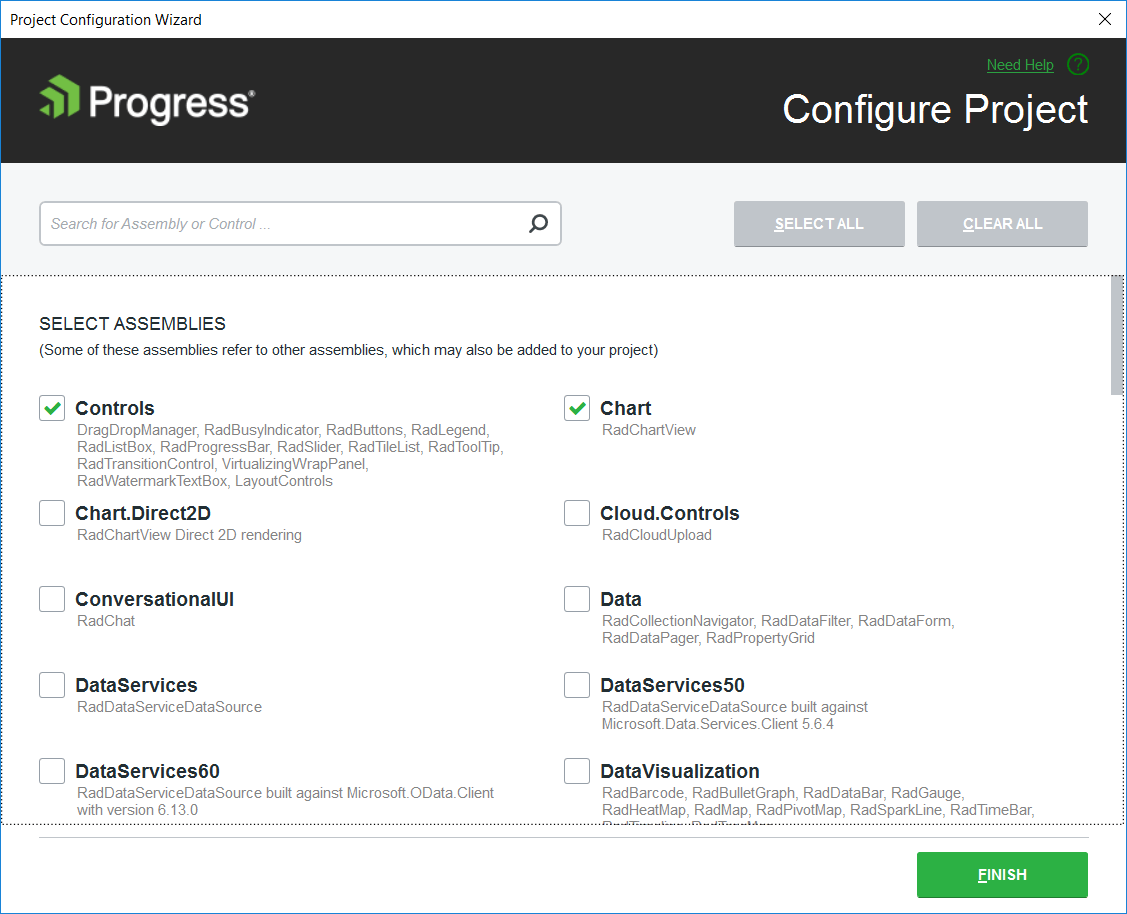
This step is optional and you will need it only if use controls that are not defined in Telerik.Windows.Controls.dll.
Creating Application and Manually Referencing the Telerik Assemblies
Open Microsoft Visual Studio.
-
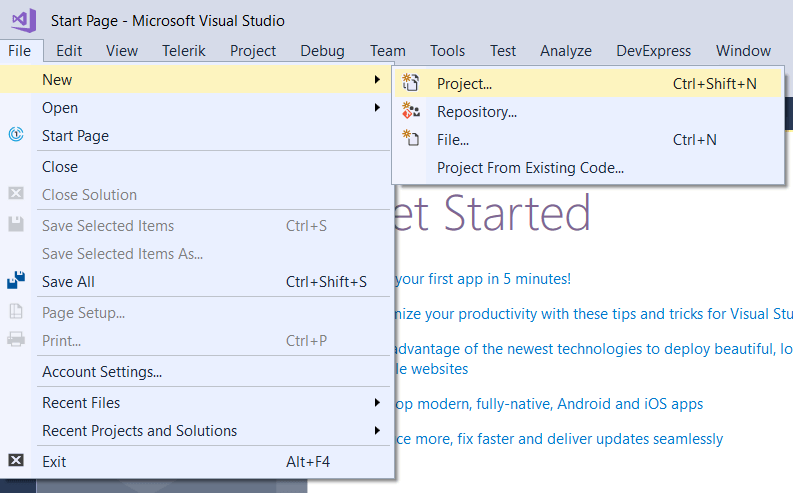
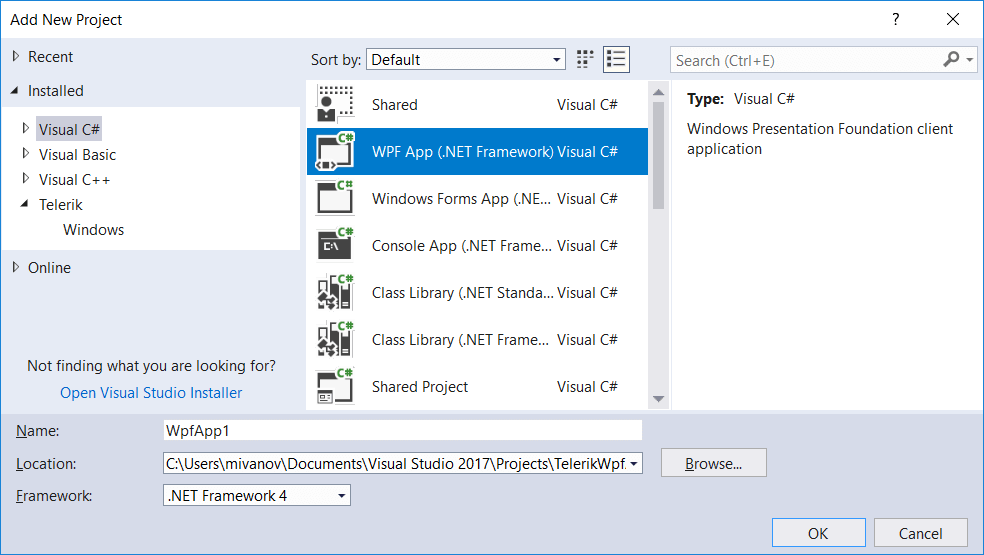
Create a new WPF application.
Figure 4: Creating new WPF application
-
Add references to the Telerik assemblies. There are two options to do this.
Drag a Telerik control from the toolbox. When the control gets dropped onto the Visual Studio designer's surface, Visual Studio will automatically add the corresponding references.
Manually reference the Telerik dlls from the UI for WPF installation folder. The binaries are located in the UI for WPF installation folder/Binaries/ or *UI for WPF installation folder/Binaries.NoXaml/. To learn about the differences between the dlls in the Binaries and the Binaries.NoXaml folders, check out the Xaml vs NoXaml article.
Dragging Controls from Visual Studio Toolbox
-
Add the Telerik WPF controls to the Visual Studio Toolbox.
See the assemblies required by each Telerik control in the Controls Dependencies article.
Open MainWindow.xaml of the project you have previously created (in the Creating Application and Manually Referencing the Telerik Assemblies section).
-
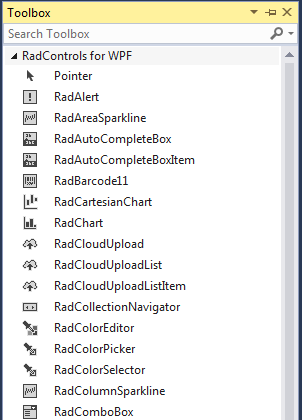
Select any Telerik control in the Visual Studio Toolbox.
Figure 5: Telerik controls in the Visual Studio Toolbox
-
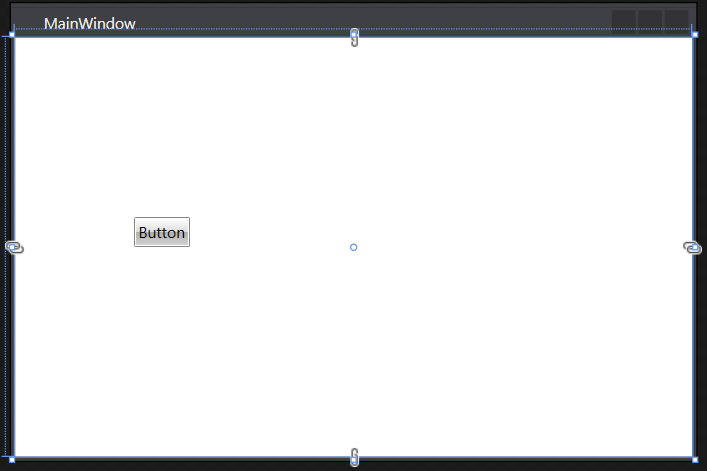
Drag and drop the control in the Visual Studio XAML designer.
Example 1: RadButton XAML automatically generated by dropping the control onto the Visual Studio designer
    <Window x:Class="WpfApplication1.Window1"
            xmlns="http://schemas.microsoft.com/winfx/2006/xaml/presentation"
            xmlns:x="http://schemas.microsoft.com/winfx/2006/xaml"
            xmlns:telerik="http://schemas.telerik.com/2008/xaml/presentation">
        <Grid>
            <telerik:RadButton Content="Button" HorizontalAlignment="Left" Height="Auto" VerticalAlignment="Top" Width="Auto"/>
        </Grid>
    </Window>
Figure 6: RadButton dragged from the Visual Studio toolbox
After dropping a control, Visual Studio automatically creates a namespace that points to the appropriate assembly. If you want to manually set up a namespace take a look at the Namespace Declaration topic.
See Also
- Namespace Declaration
- Xaml vs NoXaml
- [Create Project with Visual Studio Extension)(/devtools/wpf/getting-started/adding-telerik-ui-to-an-application/installation-adding-to-application-create-application-and-adding-control)
Upgrading Telerik UI Trial to Telerik UI Developer License or Newer Version
- [Convert Project with Visual Studio Extension)(/devtools/wpf/integration/visual-studio-extensions/for-wpf-vs-extensions-project-convert)