How to Localize
The LocalizationManager class represents a singleton class that manages application string resources and supports two ways to change the localization in the current assembly:
- Using StringLoader - with highest priority
- Using resource map
Both ways will be described below.
For a complete list of all localizable keys, see the Localization Keys topic for each control.
Localization Using StringLoader
The following example demonstrates how to create and use a StringLoader. Let's say you want to change the value of the key "LeapYear" on the RadDatePicker to "TelerikYear":
-
First you need to create a class that inherits from the IStringResourceLoader interface and implement the GetString() method that accepts the key you want to change and return the value you want to set.
You will need to add the following namespace : Telerik.Core
class TelerikStringLoader : IStringResourceLoader { public string GetString(string key) { switch (key) { case "LeapYear": return "TelerikYear"; default: return null; } } } -
Then set an instance of your implementation to the LocalizationManager:
InputLocalizationManager.Instance.StringLoader = new TelerikStringLoader();
Here you can see the changed result:

Localize using Resource Files
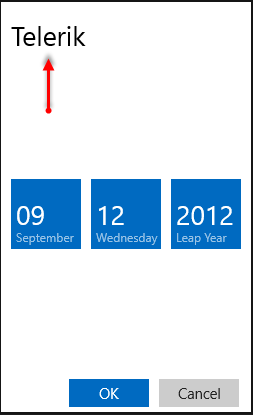
The following example demonstrates how to create a resource file and change the DateSelectorHeader of RadDatePicker control to "Telerik". Here are the basic steps:
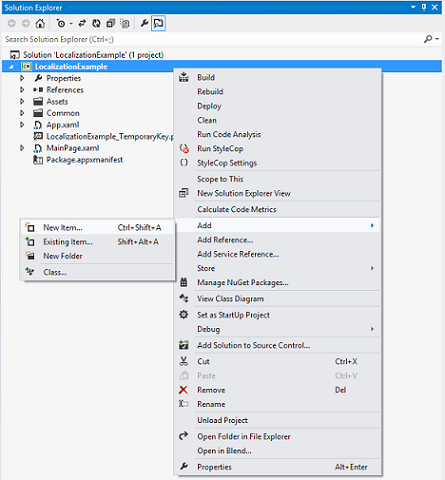
- Create a new resource file:

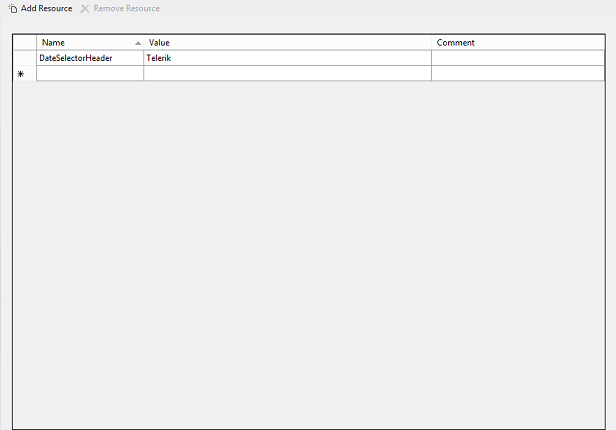
- Open the file you have just created and you will see a table with three columns: Name, Value and Comment.
- "Name" is the field where you have to put the key you want to change.
- "Value" is the field where you have to set the value you want.
- The "Comment" field is for comments.
- Set the value of the key "DateSelectorHeader" to "Telerik" and save the file:
-
Finally, you have to assign your resource file to the resource map of the application in the code behind.
You need to add the following namespace:
Windows.ApplicationModel.Resources.CoreInputLocalizationManager.Instance.UserResourceMap = ResourceManager.Current.MainResourceMap.GetSubtree("MyResources");
The result is: