This article explains how to start using Telerik UI for Android in Xamarin.
The Telerik UI for Android Xamarin distribution comes as a set of Dynamic Link Libraries. To be able to use Telerik UI for Android in Xamarin, you will need to complete the following steps:
Please note, that since we are using features added with API 23, the target API for your project should also be at least 23. Also note, that the Target API level is different than the Minimum API level. UI for Android supports API 14 as a Minimum API level. Here's more about the difference between Minimum and Target API Levels.
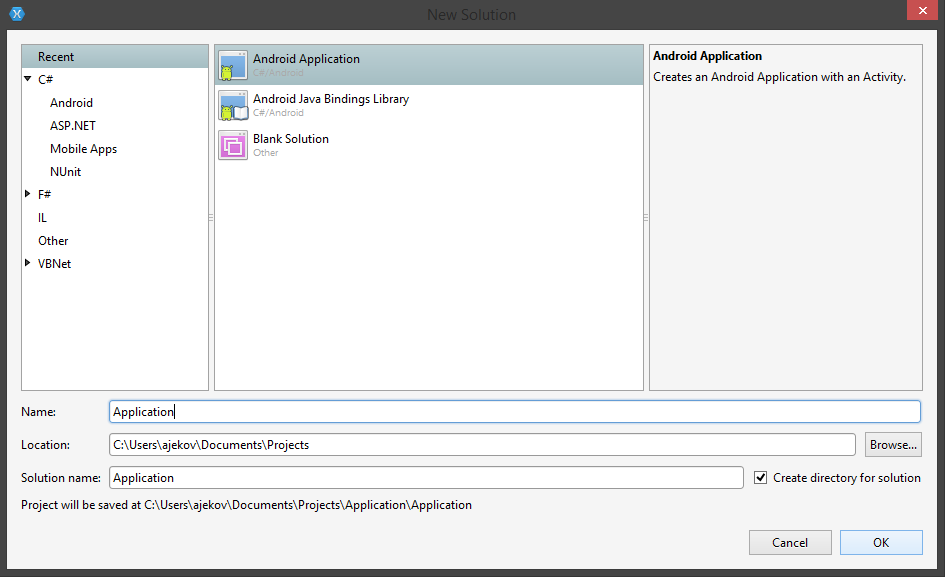
Click on New Solution in the home screen in Xamarin.

In the New Project Wizard, select Android Application , choose a name for your project and click Ok.
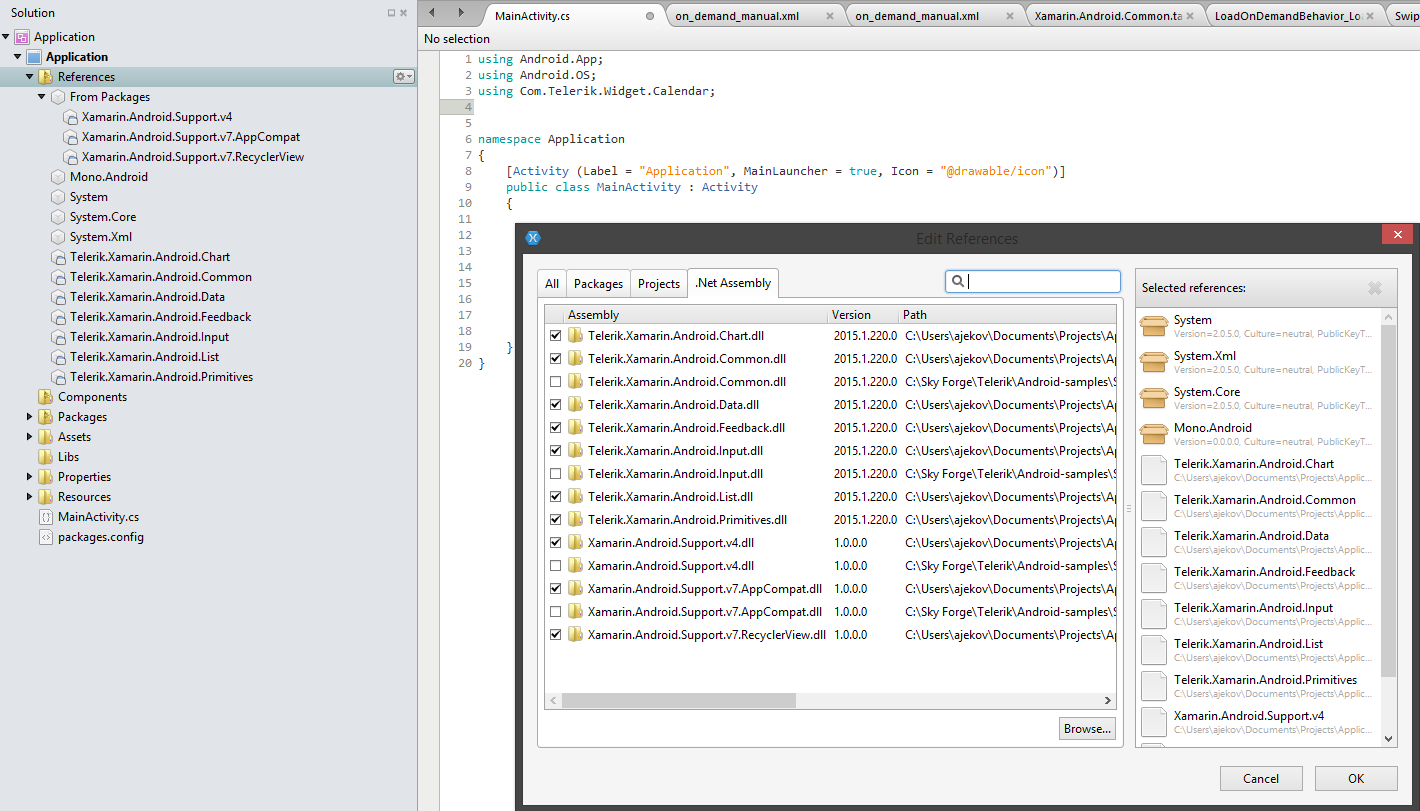
Add references to the libraries by right-clicking the References of your project and selecting Edit References....

Depending on the functionality you would like to use, make sure to add all needed dependencies as described in the Installation contents and dependencies section
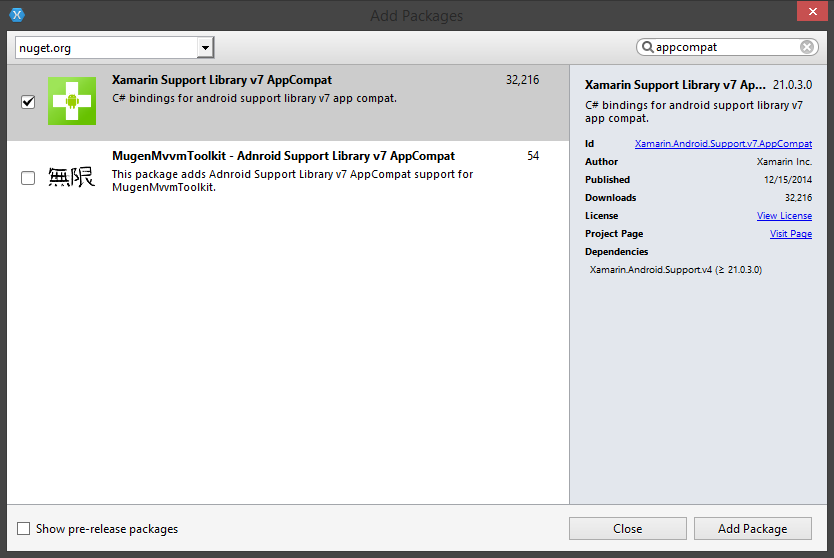
Add the following packages using the NuGet:

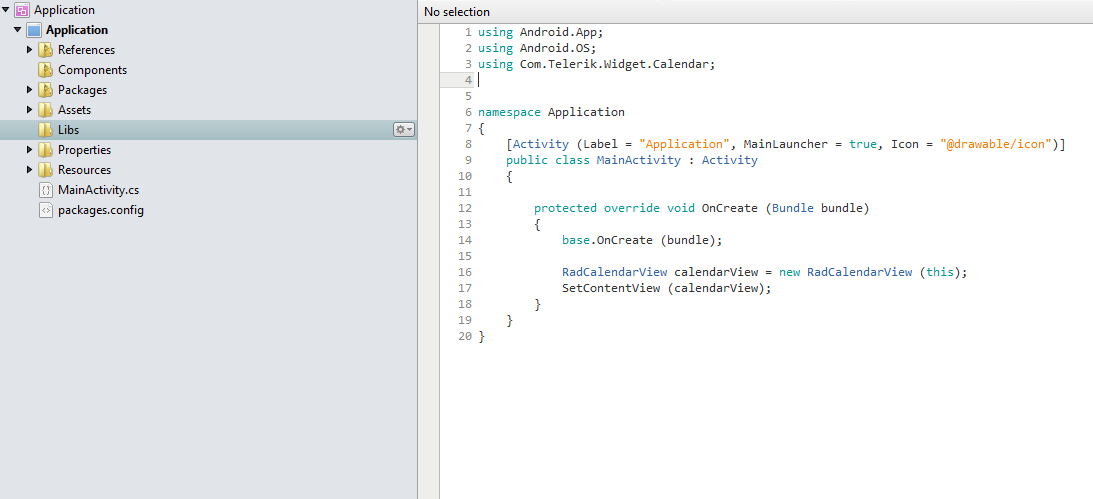
Your solution is now ready to use Telerik UI for Android.

We have prepared a Samples project which you can find in the installation folder in the \Examples subfolder.