Reading and Displaying Data
This article is relevant to entity models that utilize the deprecated Visual Studio integration of Telerik Data Access. The current documentation of the Data Access framework is available here.
In this task, you will learn how to use an OpenAccessLinqDataSource to retrieve and manipulate data, and a RadGrid control for ASP.NET to present it on a web page. Using the OpenAccessLinqDataSource, you can easily create powerful application for editing data. Generally, you will work with two tables from the SofiaCarRental database - Cars and Categories. You will use a RadGrid control to display all cars. The Car entity has a reference to the Category entity. You will use GridDropDownColumn to display all categories. Thus you will be able to modify each car.
For more information about the OpenAccessLinqDataSource control, please refer to the Working with OpenAccessLinqDataSource chapter.
Adding RadScriptManager
The first step is to add a RadScriptManager. By default each of the RadControls for ASP.NET Ajax serves a set of files (JS code) needed for its proper client-side operation. When loading a page with several controls on it, the number of these files can become very large, often resulting in a reduced page load time and increased traffic. The reason for this problem is that browsers make a separate request to the server for each of these resources. With the newly added RadScriptManager control, RadControls for ASP.NET Ajax suite gives developers the advantage of a simple drag-and-drop to achieve the combination of resources to a single request. All you need is to add a RadScriptManager to your page and the javascript files get combined into a single file.
Open the Default.aspx page in Design mode. Drag a new RadScriptManager component from the Toolbox to the designer. RadScriptManager needs an HttpHandler to be declared in the application configuration file to operate properly. The addition of the handler is made easy by the SmartTags of the control. Right-click the RadScriptManager and select Show Smart Tag. Then select Register Telerik.Web.UI.WebResource.axd.

Using the OpenAccessLinqDataSource Control
Next, you have to add two OpenAccessLinqDataSource controls for the Category and Car entities. Open the Default.aspx page in Design mode. Drag a new OpenAccessLinqDataSource component from the Toolbox to the designer.

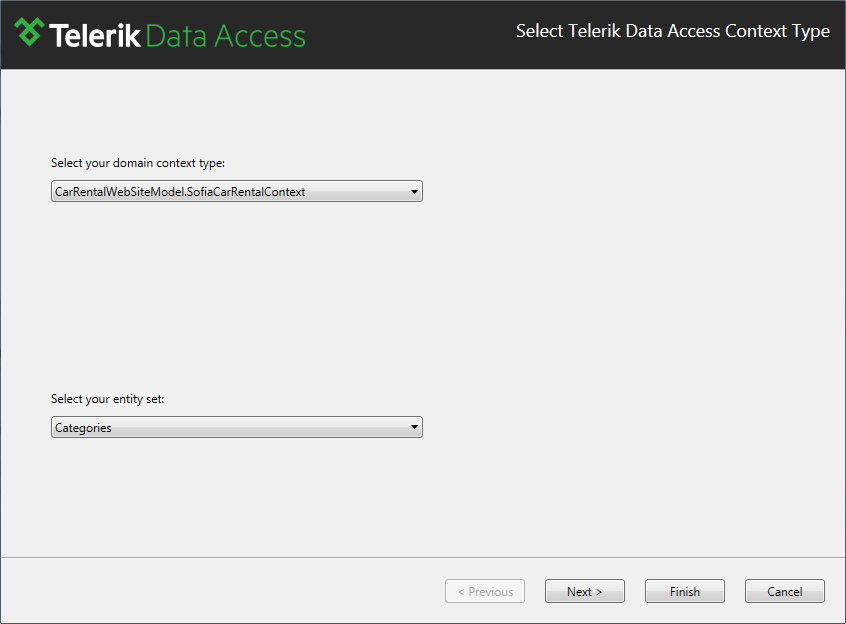
Right-click the OpenAccessLinqDataSource item in the designer and select Configure Data Source... from the context menu. This will run the OpenAccessLinqDataSource Wizard. The first page of the wizard is the Select Context Type Dialog. Here you need to select the context object that will be used to retrieve or update data. The second option in this dialog allows you to select the target table/entity. Select SofiaCarRentalContext and the Categories table as shown on the image below. Click Next to continue.
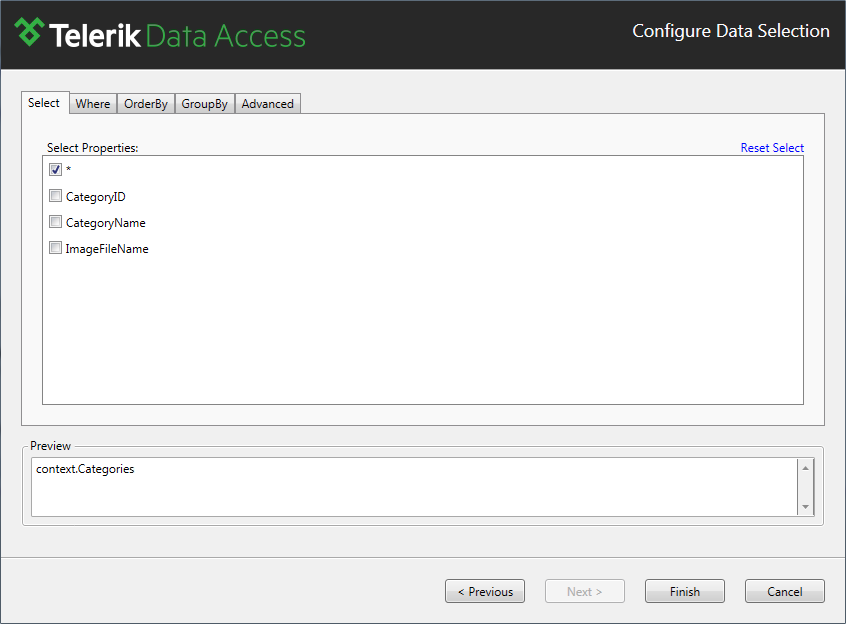
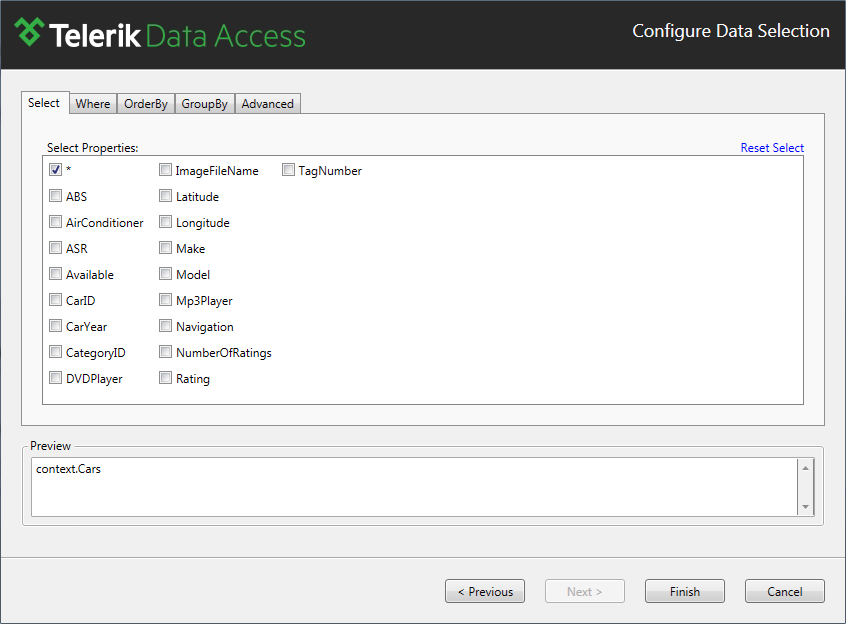
The second page of the wizard is the Configure Data Selection Dialog. The second page of the wizard allows you to specify which properties will be selected (retrieved) from the database. Also, you could filter, sort and group the retrieved records. Make sure that the default (*) selection is used and click Finish to close the wizard.
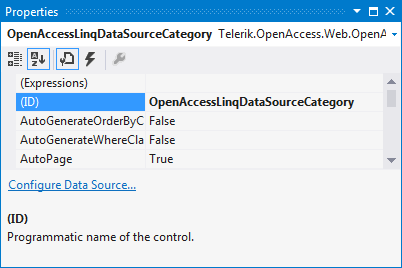
Set the ID property to OpenAccessLinqDataSourceCategory.
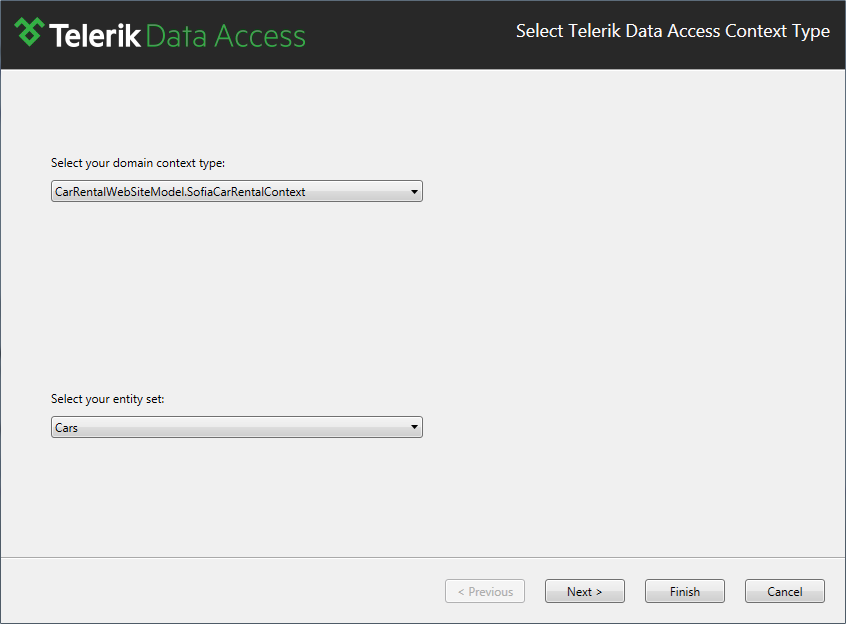
By performing the same steps, create a second OpenAccessLinqDataSource control. Configure the second OpenAccessLinqDataSource control to use the Cars table/entity.
On the Configure Data Selection Dialog, ensure that the default (*) selection is used. Click Finish.
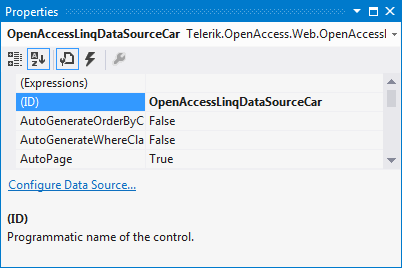
Set the ID property for the second OpenAccessLinqDataSource control to OpenAccessLinqDataSourceCar.
The following example shows the markup for part of an ASP.NET Web page that contains the OpenAccessLinqDataSource controls.
<telerik:OpenAccessLinqDataSource
   ID="OpenAccessLinqDataSourceCategory"
   runat="server"
   ContextTypeName="CarRentWebSite.SofiaCarRentalContext"
   ResourceSetName="Categories"
   EntityTypeName="" />

<telerik:OpenAccessLinqDataSource
   ID="OpenAccessLinqDataSourceCar"
   runat="server"
   ContextTypeName="CarRentWebSite.SofiaCarRentalContext"
   ResourceSetName="Cars"
   EntityTypeName="" />
Reading and Displaying Data
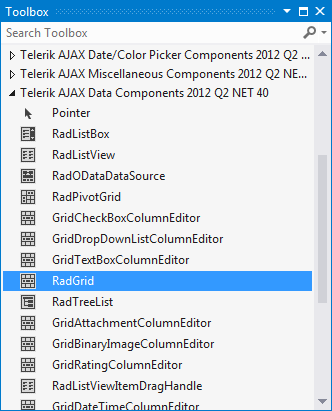
In the next several steps you will add a new Telerik RadGrid control and populate it with all cars from the SofiaCarRental database. Drag a new RadGrid control from the Toolbox to the designer.
By using the Smart Tag panel of the control, set the following properties:
- Set the Enable Paging property to True.
- Set the Enable Sorting property to True.
- Set the Auto-generate edit column at runtime property to True.
- Set the Auto-generate delete column at runtime property to True.
- Set the Choose Data Source to OpenAccessLinqDataSourceCar.
- Click the Refresh Schema link in the Smart Tag panel.
Select the RadGrid control and press F4 to open the Properties pane:
- Set the AllowAutomaticDeletes property to True.
- Set the AllowAutomaticInserts property to True.
- Set the AllowAutomaticUpdates property to True.
- Set the AllowCustomPaging property to True.
- In the Properties pane, expand the MasterTableView section and set the CommandItemDisplay property to TopAndBottom.
Below is the complete markup for the RadGrid control.
<telerik:RadGrid ID="RadGrid1" runat="server" AllowAutomaticDeletes="True"
   AllowAutomaticInserts="True" AllowAutomaticUpdates="True" AllowCustomPaging="True" AllowPaging="True"
   AllowSorting="True" AutoGenerateDeleteColumn="True"
   AutoGenerateEditColumn="True" CellSpacing="0" DataSourceID="OpenAccessLinqDataSourceCar"
   GridLines="None">
   <MasterTableView AutoGenerateColumns="False" CommandItemDisplay="TopAndBottom"
       DataKeyNames="CarID" DataSourceID="OpenAccessLinqDataSourceCar">
       <CommandItemSettings ExportToPdfText="Export to PDF"></CommandItemSettings>
       <RowIndicatorColumn FilterControlAltText="Filter RowIndicator column">
           <HeaderStyle Width="20px"></HeaderStyle>
       </RowIndicatorColumn>
       <ExpandCollapseColumn FilterControlAltText="Filter ExpandColumn column">
           <HeaderStyle Width="20px"></HeaderStyle>
       </ExpandCollapseColumn>
       <Columns>
           <telerik:GridCheckBoxColumn DataField="ABS" DataType="System.Boolean"
               FilterControlAltText="Filter ABS column" HeaderText="ABS"
               SortExpression="ABS" UniqueName="ABS">
           </telerik:GridCheckBoxColumn>
           <telerik:GridCheckBoxColumn DataField="ASR" DataType="System.Boolean"
               FilterControlAltText="Filter ASR column" HeaderText="ASR"
               SortExpression="ASR" UniqueName="ASR">
           </telerik:GridCheckBoxColumn>
           <telerik:GridCheckBoxColumn DataField="AirConditioner" DataType="System.Boolean"
               FilterControlAltText="Filter AirConditioner column" HeaderText="AirConditioner"
               SortExpression="AirConditioner" UniqueName="AirConditioner">
           </telerik:GridCheckBoxColumn>
           <telerik:GridCheckBoxColumn DataField="Available" DataType="System.Boolean"
               FilterControlAltText="Filter Available column" HeaderText="Available"
               SortExpression="Available" UniqueName="Available">
           </telerik:GridCheckBoxColumn>
           <telerik:GridBoundColumn DataField="CarID" DataType="System.Int32"
               FilterControlAltText="Filter CarID column" HeaderText="CarID"
               ReadOnly="True" SortExpression="CarID" UniqueName="CarID">
           </telerik:GridBoundColumn>
           <telerik:GridBoundColumn DataField="CarYear" DataType="System.Int16"
               FilterControlAltText="Filter CarYear column" HeaderText="CarYear"
               SortExpression="CarYear" UniqueName="CarYear">
           </telerik:GridBoundColumn>
           <telerik:GridBoundColumn DataField="CategoryID" DataType="System.Int32"
               FilterControlAltText="Filter CategoryID column" HeaderText="CategoryID"
               SortExpression="CategoryID" UniqueName="CategoryID">
           </telerik:GridBoundColumn>
           <telerik:GridCheckBoxColumn DataField="DVDPlayer" DataType="System.Boolean"
               FilterControlAltText="Filter DVDPlayer column" HeaderText="DVDPlayer"
               SortExpression="DVDPlayer" UniqueName="DVDPlayer">
           </telerik:GridCheckBoxColumn>
           <telerik:GridBoundColumn DataField="ImageFileName" FilterControlAltText="Filter ImageFileName column"
               HeaderText="ImageFileName" SortExpression="ImageFileName" UniqueName="ImageFileName">
           </telerik:GridBoundColumn>
           <telerik:GridBoundColumn DataField="Latitude" DataType="System.Double"
               FilterControlAltText="Filter Latitude column" HeaderText="Latitude"
               SortExpression="Latitude" UniqueName="Latitude">
           </telerik:GridBoundColumn>
           <telerik:GridBoundColumn DataField="Longitude" DataType="System.Double"
               FilterControlAltText="Filter Longitude column" HeaderText="Longitude"
               SortExpression="Longitude" UniqueName="Longitude">
           </telerik:GridBoundColumn>
           <telerik:GridBoundColumn DataField="Make" FilterControlAltText="Filter Make column"
               HeaderText="Make" SortExpression="Make" UniqueName="Make">
           </telerik:GridBoundColumn>
           <telerik:GridBoundColumn DataField="Model" FilterControlAltText="Filter Model column"
               HeaderText="Model" SortExpression="Model" UniqueName="Model">
           </telerik:GridBoundColumn>
           <telerik:GridCheckBoxColumn DataField="Mp3Player" DataType="System.Boolean"
               FilterControlAltText="Filter Mp3Player column" HeaderText="Mp3Player"
               SortExpression="Mp3Player" UniqueName="Mp3Player">
           </telerik:GridCheckBoxColumn>
           <telerik:GridCheckBoxColumn DataField="Navigation" DataType="System.Boolean"
               FilterControlAltText="Filter Navigation column" HeaderText="Navigation"
               SortExpression="Navigation" UniqueName="Navigation">
           </telerik:GridCheckBoxColumn>
           <telerik:GridBoundColumn DataField="NumberOfRatings" DataType="System.Int32"
               FilterControlAltText="Filter NumberOfRatings column" HeaderText="NumberOfRatings"
               SortExpression="NumberOfRatings" UniqueName="NumberOfRatings">
           </telerik:GridBoundColumn>
           <telerik:GridBoundColumn DataField="Rating" DataType="System.Decimal"
               FilterControlAltText="Filter Rating column" HeaderText="Rating"
               SortExpression="Rating" UniqueName="Rating">
           </telerik:GridBoundColumn>
           <telerik:GridBoundColumn DataField="TagNumber" FilterControlAltText="Filter TagNumber column"
               HeaderText="TagNumber" SortExpression="TagNumber" UniqueName="TagNumber">
           </telerik:GridBoundColumn>
       </Columns>
       <EditFormSettings>
           <EditColumn FilterControlAltText="Filter EditCommandColumn column">
           </EditColumn>
       </EditFormSettings>
   </MasterTableView>
   <FilterMenu EnableImageSprites="False">
   </FilterMenu>
   <HeaderContextMenu CssClass="GridContextMenu GridContextMenu_Default">
   </HeaderContextMenu>
</telerik:RadGrid>
Run your application, you should see the RadGrid control populated with all cars from the SofiaCarRental database.

In the next task, you will extend the code to enable you to create new Car objects.
