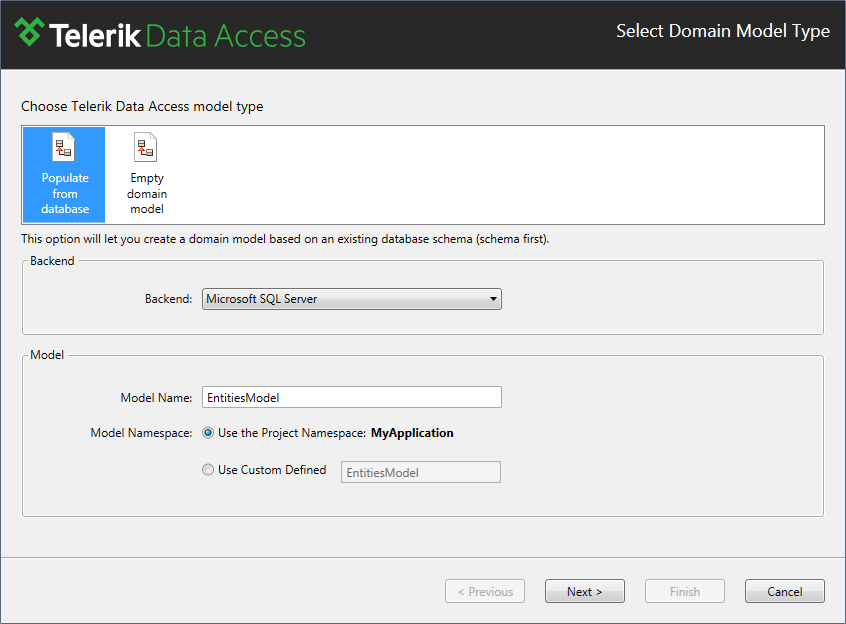
Select Domain Model Type Dialog
This article is relevant to entity models that utilize the deprecated Visual Studio integration of Telerik Data Access. The current documentation of the Data Access framework is available here.
The Choose Domain Model Type dialog box is the part of the Telerik Data Access Create Model Wizard that enables you to specify the contents of your .rlinq file. You can create an empty domain model or generate the model from an existing database.

The following section describes the user-interface elements of the Choose Domain Model Type dialog box:
Empty Domain Model
Creates an empty domain model. You can use the Visual Designer to create a conceptual model, then generate a database that supports the model. For more information, see Model First Scenario.
Populate from Database
Creates a .rlinq file from a selected database. The wizard helps you select the data source, database, tables, views, and stored procedures to include in the .rlinq file. For more information, see Database First Scenario.
Select Backend
Allows you to specify type of the underlying database. For a complete list of the supported databases, see Database Support.
Model Name
Allows you to specify the name of your model (the name of your context class). The model name is used to identify the generated domain model. The model name must be unique for the project. The wizard checks if the project has a domain model with the same name and makes the name unique by adding a "0", "1", and so on, to the model name.
Model Namespace
Allows you to specify the namespace of your entities. You could use the default project namespace, or to specify a custom one. Using Custom defined namespace is useful when you deal with multiple data sources (.RLINQ files) in a project. In this case you could have a situation in which each data source exposes entities with one and the same name. Your application should be able to distinguish them. That's why a possible solution is to separate those entities in different namespaces. For more information, read How to: Work with Multiple Data Sources.
