How to: Enable 2nd Level Cache (Visual Designer)
This article is relevant to entity models that utilize the deprecated Visual Studio integration of Telerik Data Access. The current documentation of the Data Access framework is available here.
This topic provides information about how to enable the second level cache by using the Telerik Data Access Visual Designer.
How to Enable 2nd Level Cache in the Visual Designer
In order to enable the second level cache:
- Open the Visual Designer.
- Right-click on an empty area and select Show Model Settings.
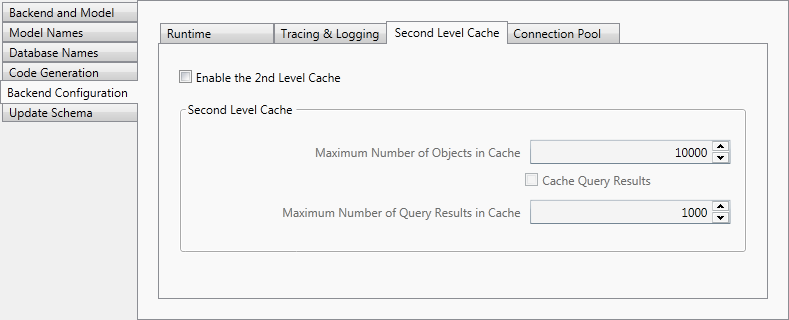
- In the Model Settings Dialog navigate to the Backend Settings -> Second Level Cache tab page.
-
Check the Enable the Second Level Cache option.
Click OK to accept the changes.
When the cache is full (has reached the maximum configured number of instances) the least recently used instance(s) are evicted. The Maximum Number of Objects in Cache setting controls the number of objects to be cached. The Cache Query Results and Maximum Number of Query Results in Cache settings controls respectively if the second level cache should also cache query results.
The 2nd level query cache does not cache query results with a higher amount of objects. The reason is, if it caches query results with million records, this uses a lot of memory and the result has to be read completely even if the application uses only the first 100 results. By default the 2nd level query cache will cache queries with maximum 500 objects. The default value could be changed via the BackendConfiguration class. For more information, see How to: Enable 2nd Level Cache (Programmatically).