Modifying a Built-In Theme
The purpose of this topic is to show you how to modify and apply a built-in theme.
In order to modify\extend and apply a built-in theme:
Open Windows Explorer and navigate to the place where you have installed UI for Silverlight.
Browse the Themes folder.
-
Open the Themes solution in Visual Studio.
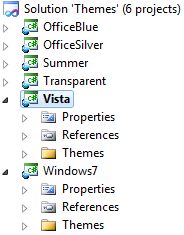
Choose the theme that you want to modify. In this example the Vista theme will be modified.
Expand the Themes -> Vista folder in the Vista project.
-
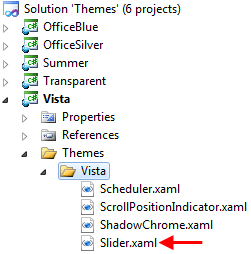
Locate the XAML file for the target controls and modify it the way you need. In this demo, the RadSlider theme will be modified for simplicity.
-
Open the Slider.xaml file and modify the SliderBackgroundTrack brush to Red.
<SolidColorBrush x:Key="SliderBackgroundTrack" Color="Red" /> Save the XAML file and build the Vista project. Since you are modifying the Vista theme, you will get a new Telerik.Windows.Themes.Vista.dll assembly when you build it.
-
The next step is to set the theme in your application. Open your project and add reference to the Telerik.Windows.Themes.Vista.dll.
After building the Vista project, the new assembly will be located at the Themes\Vista\Bin\Debug folder.
-
Open the App.xaml.cs file and add the following code in the constructor. This will be enough to apply the theme globally to all Telerik controls.
Telerik.Windows.Controls.StyleManager.ApplicationTheme = new Telerik.Windows.Controls.VistaTheme();Telerik.Windows.Controls.StyleManager.ApplicationTheme = New Telerik.Windows.Controls.VistaTheme()
-
If you want to apply the theme only for a specific control, then you should stick to the following approach:
<telerik:RadSlider x:Name="radSlider" telerik:StyleManager.Theme="Vista"/>