Cannot Add Open Test
PROBLEM
When trying to open an existing test with the Visual Studio plugin, it is possible to receive the following message:
The operation could not be completed.
SOLUTION
Take these steps first:
1. Exclude the test from the project (right click it and select Exclude From Project).
2. Save and close the solution.
3. Close and restart Visual Studio.
4. Reopen the solution.
5. Add the test back to the project.
If that does not work, or only works temporarily, then follow these steps:
1. Uninstall Test Studio.
2. Uninstall Visual Studio.
3. Reboot.
4. Install Visual Studio (and any applicable Service Packs).
5. Install Test Studio.
PROBLEM
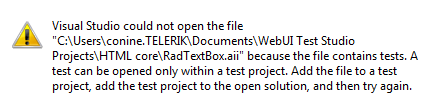
When trying to open or add a test to a Solution, it is possible to receive the following message:
This issue can occur when you:
Create a new, empty project/solution and try to add a test to it (before creating a test project in the solution).
Attempt to add a test to a part of the solution that is not a Test Project.
Attempt to open a test from source control.
SOLUTION
A test cannot be within any part of the solution; it must be contained within a Test Project. This message will continue to display until you add a Test Project to the Solution, and then add the test to the newly created Test Project.
First add a Test Project that will contain the test, then add the test to the Test Project.
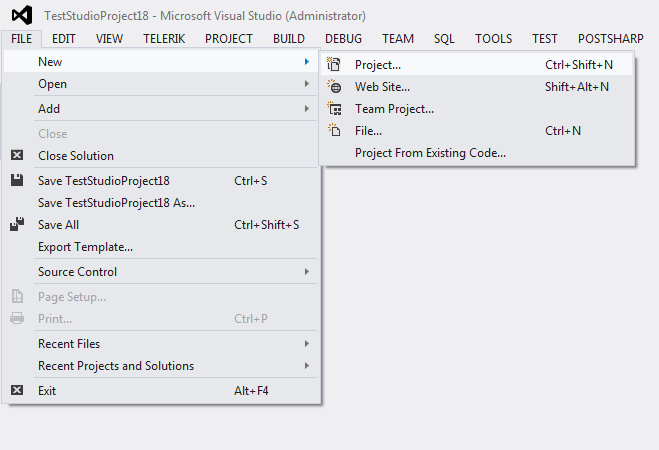
1. Click File > Add > New Project.
2. On the left column, click the Test option.
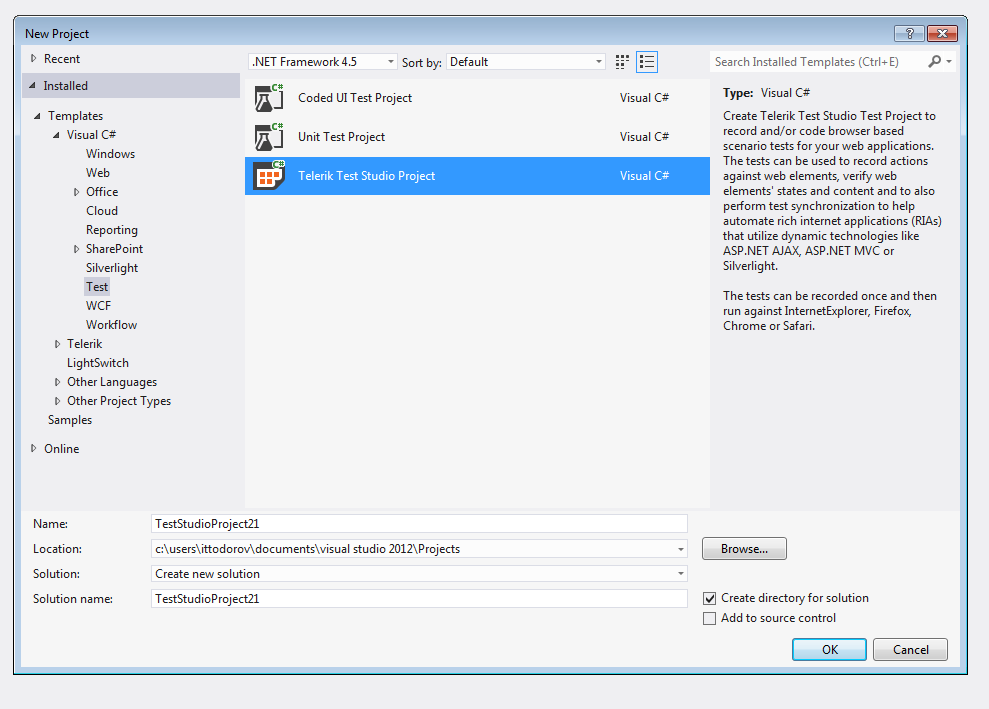
3. Highlight Test Project.
4. Click Add.
5. Allow time for the test project to load.
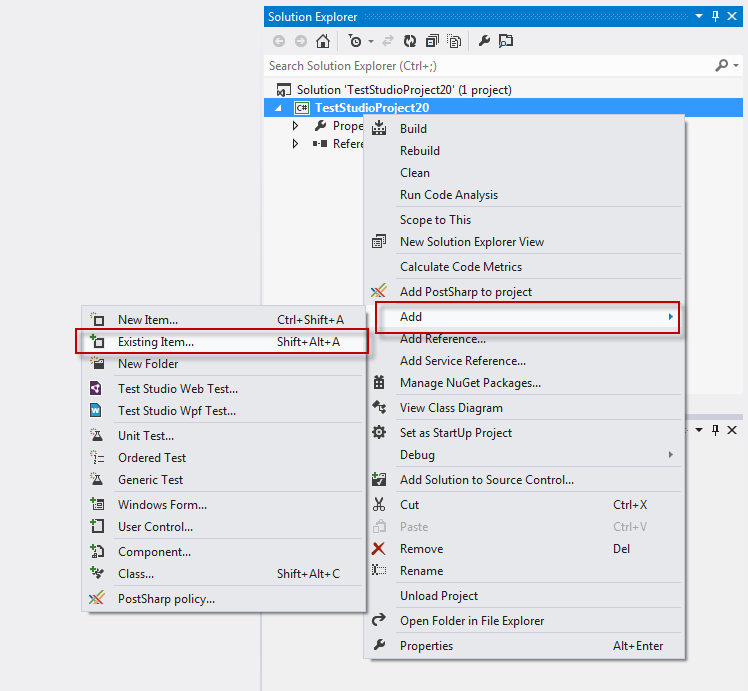
6. Right-Click the Test Project.
7. Select Add, then choose New Test or Existing Item.
8. Navigate to the folder that contains your test and .resx file (both will be required to add/use the test).
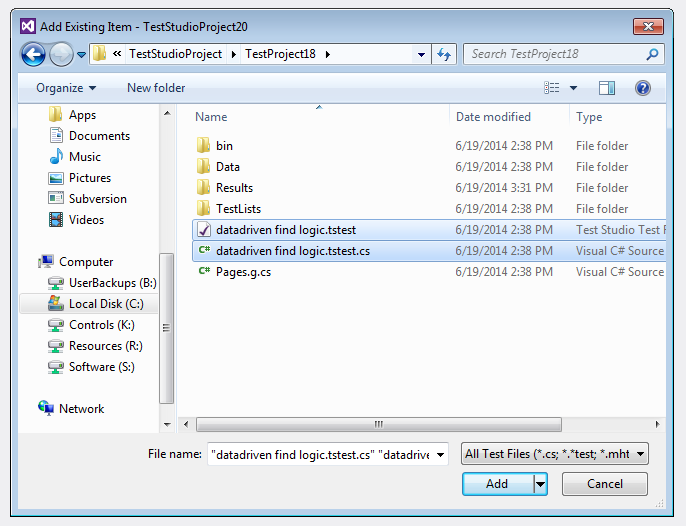
9. Click the Add button. The test and resource files are added to your test.
If you forget to select the .resx or .cs file, you are prompted to locate it after adding the test file.
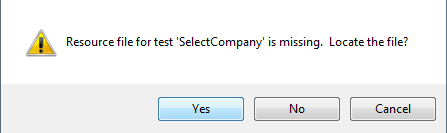
Click Yes, then use the browsing dialog to locate the correct .resx file (the name should match the test name, only the extensions differ).
If you click No, you are given this message:

If you choose to not add the file again (by clicking Yes), a new .resx/ file is generated (it contains the Storyboard images), but existing steps are not affected. Select No to use the above process to add an Existing Item to the test (and target the .resx file). If you have a code-behind file for the test, you will be asked to locate this as well (like the .resx file just mentioned). If you do not locate your code-behind file, the coded steps are deleted from the test entirely.