How to Set a Custom Chrome Profile
Test Studio allows you to create a custom profile in Chrome browser, which remains in use only when running tests from Test Studio.
Follow the below steps to create and calibrate a custom profile.
1. Start the Windows Registry Editor. You can type Registry Editor in the Start menu or use the Run... option and type regedit.exe.
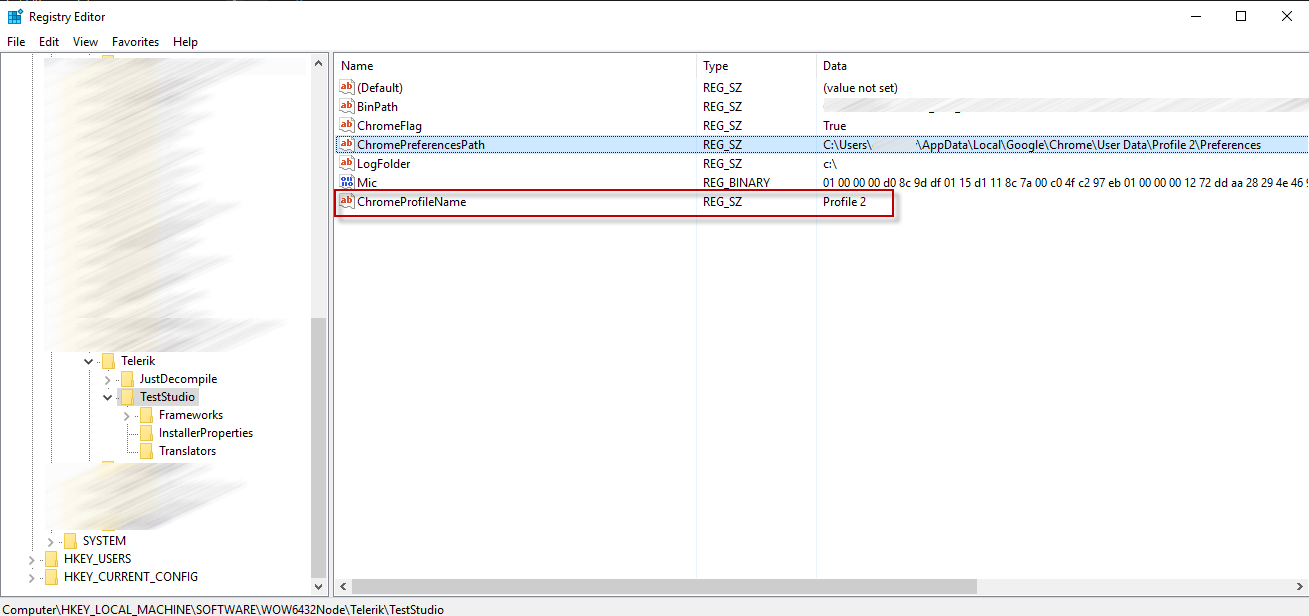
2. Navigate to node HKEY_LOCAL_MACHINE\SOFTWARE\Wow6432Node\Telerik\TestStudio
3. Create a key of type String and name it ChromeProfileName
Note
If you have set the registry keys for using Chrome from custom installation path, the custom profile registry key is not taken into account.
4. Modify the value of that key and set a new profile name - testingProfile, for example.
5. Start a Test Studio project and open a web test. Trigger a recording session choosing the Chrome browser, but uncheck the checkbox for browser calibration for this first run - it is only required to actually create the new profile.
6. Once the browser starts you see the Test Studio screen reporting "Waiting for extension 30 sec...". The extension is not installed in this profile of the browser, so after the 30 seconds timeout, you get a link to the extension - open it and add the Progress Telerik Test Studio extension.
7. Stop that first recording session by closing the browser instance.
8. Open the browser calibration window and now calibrate the Chrome browser.
9. As long as that registry key exists, Test Studio will use it to start the Chrome browser for running and recording tests.