Highlighting Elements in Recording Mode
The Highlighting menu is a powerful set of options related to the targeted element. It brings additional options to interact with an element in the terms of test recording, apart from clicking or entering text.
In this article you will find useful details and hints about the highlighting feature in Test Studio recorder and how to get most benefits of this.
- How to Enable or Disable the Highlighting
- Quick Steps in Highlighting Menu
- Mouse Actions in Highlighting Menu
- Scroll Actions in Highlighting Menu
- Add to Elements Option in Highlighting Menu
- Locate in DOM Option in Highlighting Menu
- Build Step Option in Highlighting Menu
Tip
Check out this neat video tutorial which will help in analyzing the elements in the tested application.
Enable or Disable Highlighting of Elements
Once in an active recording session you can enable or disable the highlighting from the Compact Recording Toolbar.
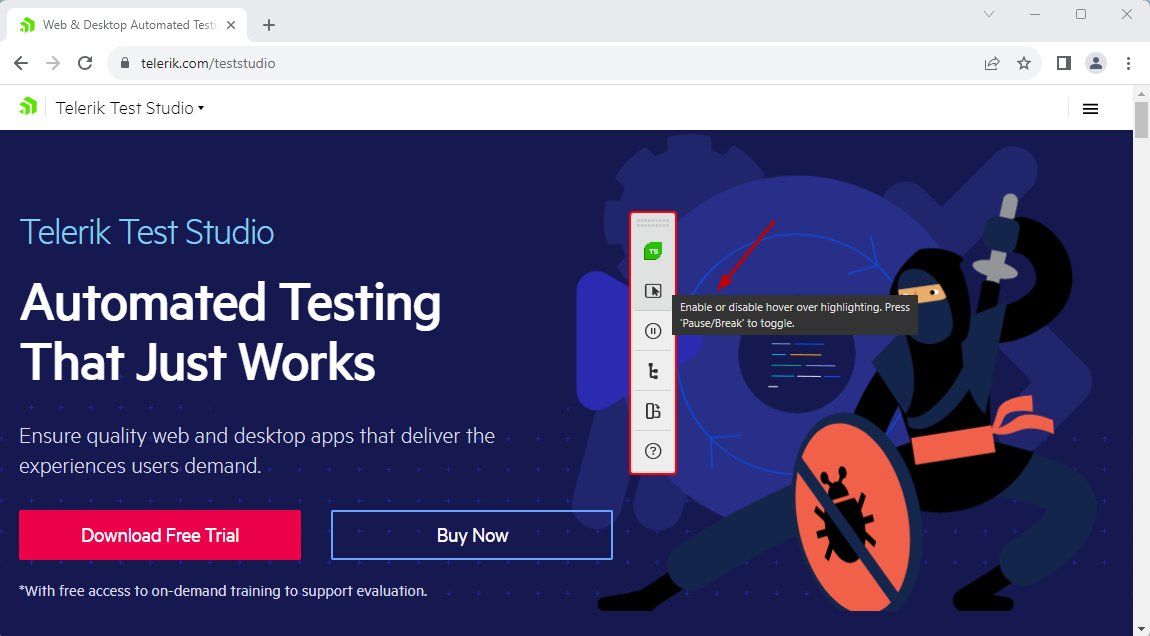
Note
The highlighting feature can be enabled (or disabled) even when the recording is paused.
When enabled and the mouse pointer pauses over an element in the recording surface of the tested application, you will see the Elements menu with multiple options. This rich menu makes it easy to work with the recording surface and its elements. It provides quick access to relevant functions right in the application you are testing.

Tip
Use the Pause/Break key on your keyboard to toggle on or off the Highlighting feature.
Options in the Highlighting Menu
The Elements Menu provides access to various actions and functions apart from the straightforward click or type actions. These are divided in few sections to speed up their usage. Read below what options there are in the different sub-menus.
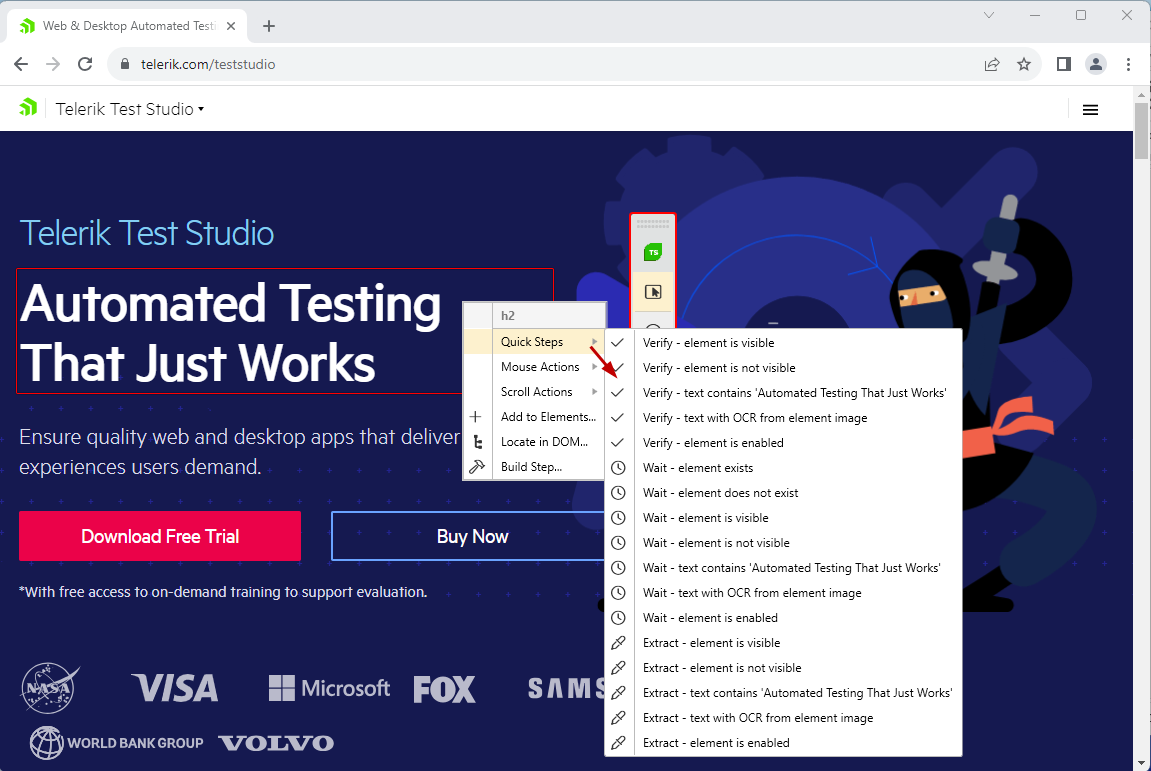
Quick Steps
Quick Steps sub-menu provides a list of tasks, which can be performed against the highlighted element - these are context sensitive and are different depending on the target element. There are few options listed to add a quick verification, a wait step or to extract any of the element's attributes, based on its specifics.
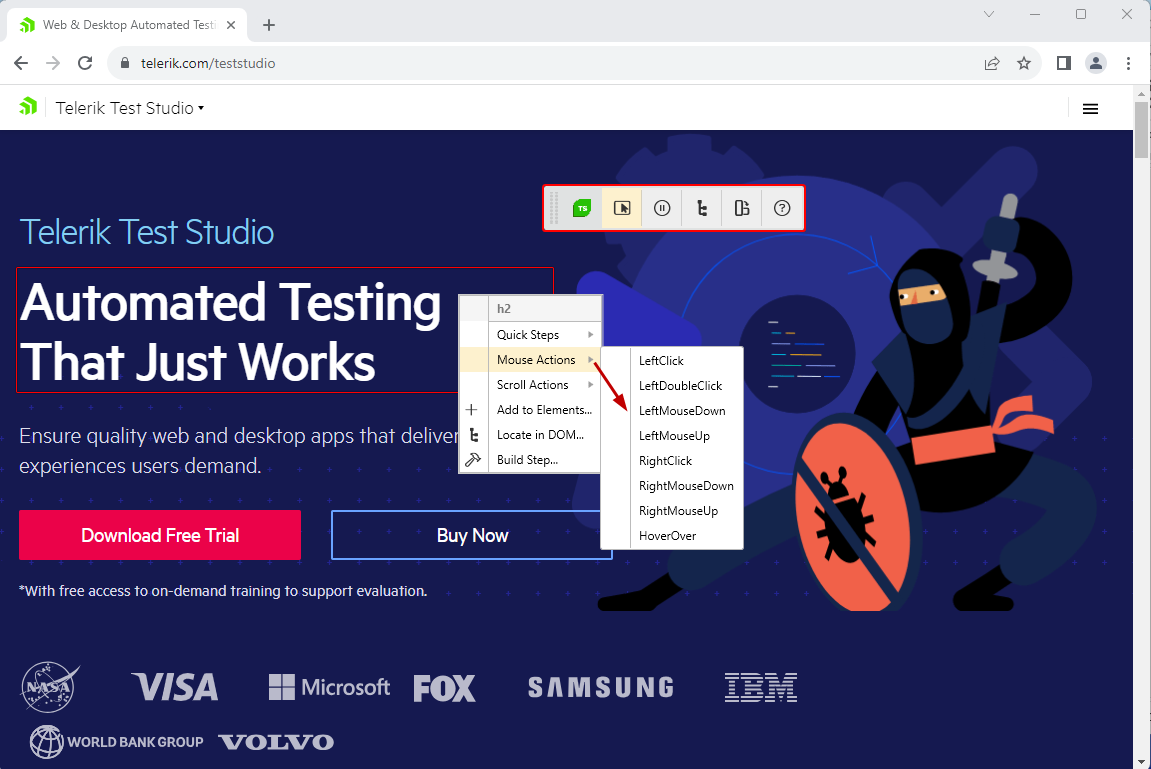
Mouse Actions
Mouse Actions sub-menu provides quick access to different type of click steps like double-click, right mouse click, mouse key up or down, mouse hover over action, etc. Mouse click steps get recorded with default coordinates to target the absolute center of element. If you need to specify the coordinates for a click action you can use the advanced mouse click actions and modify these.
Tip
The Drag and Drop action requires the selection of the element to drag and the element to drop it to. Therefore, this can only be added through the Advanced Recording Tools.
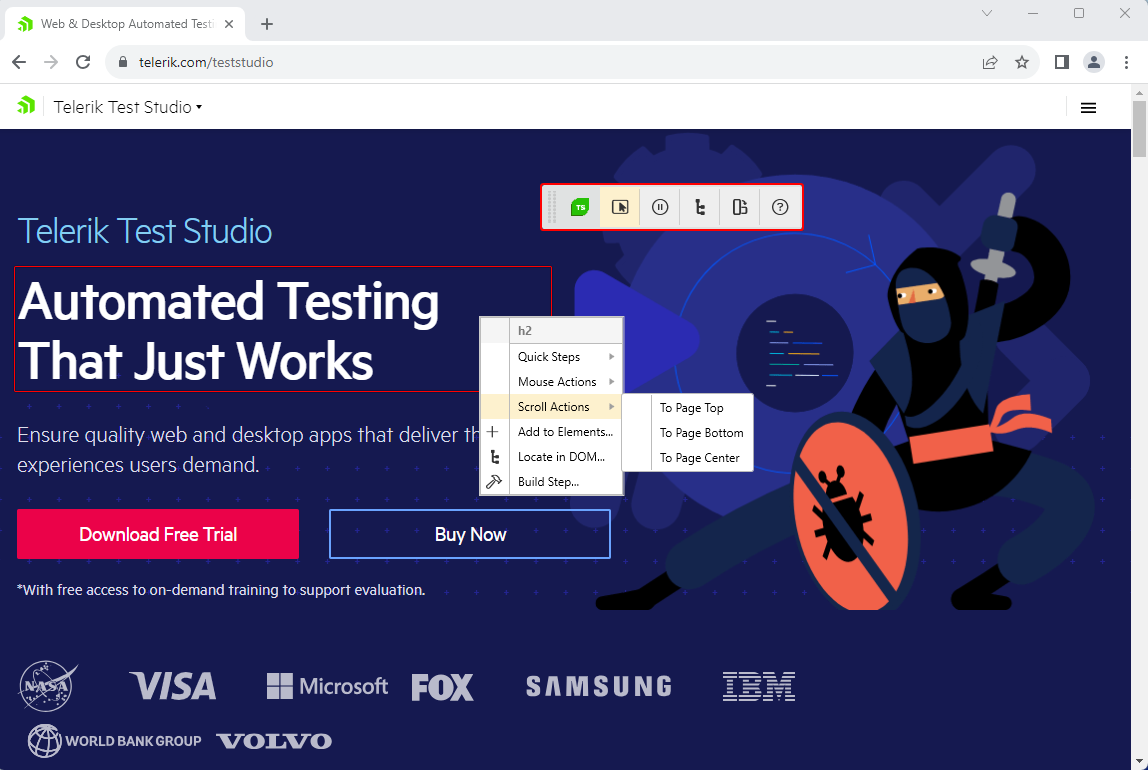
Scroll Actions
In certain occasions you may need to scroll the page and change the visible part of it. The Scroll Actions sub-menu gives the options to choose an element on application screen and scroll it to the top, bottom or center of the page.
Note
The Element Steps tab in the Advanced Recording Tools provides the full set of steps available for the selected element.
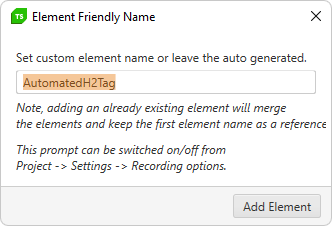
Add to Elements
Add to Elements option allows you to add the highlighted element to the selected test in project as an 'external reference' - that means the element is not related to any step from the test, but is still listed in it and can be referred from a coded step, for example.
Locate in DOM
Locate in DOM is an option, which directly opens the DOM Explorer in the Advanced Recording Tools and selects the highlighted element in the DOM structure of the page. You can further explore the surrounding elements of the selected one, or use the options for building a step using this element.

Build Step
Build Step... is an option very similar to the Locate In DOM one - it selects the highlighted element in the DOM tree and directly switches to the Element Steps tab in the Advanced Recording Tools.
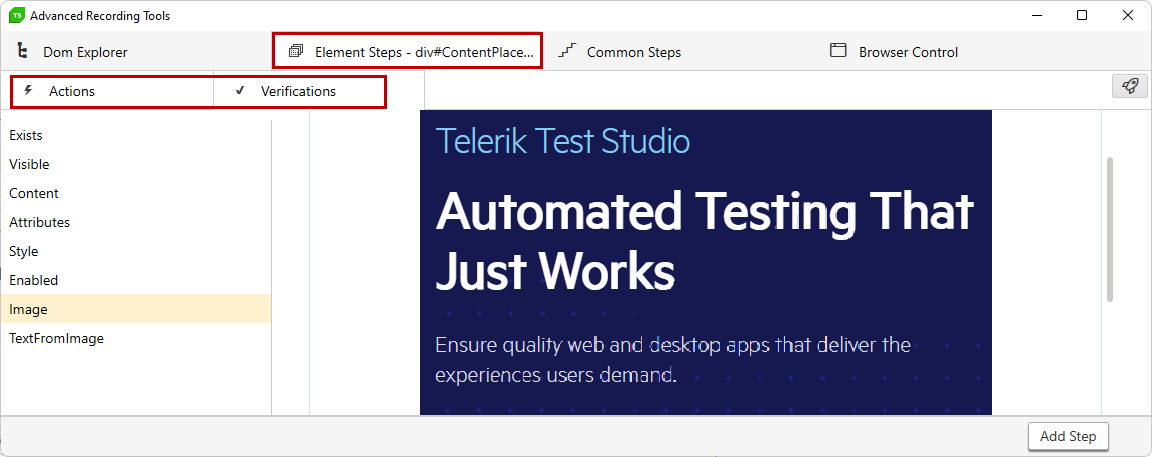
There are additional actions and verifications you can add against the selected element. For example, you can add mouse actions and advanced verification steps for attribute, image or text from image.