Use the Step Builder to Add Steps
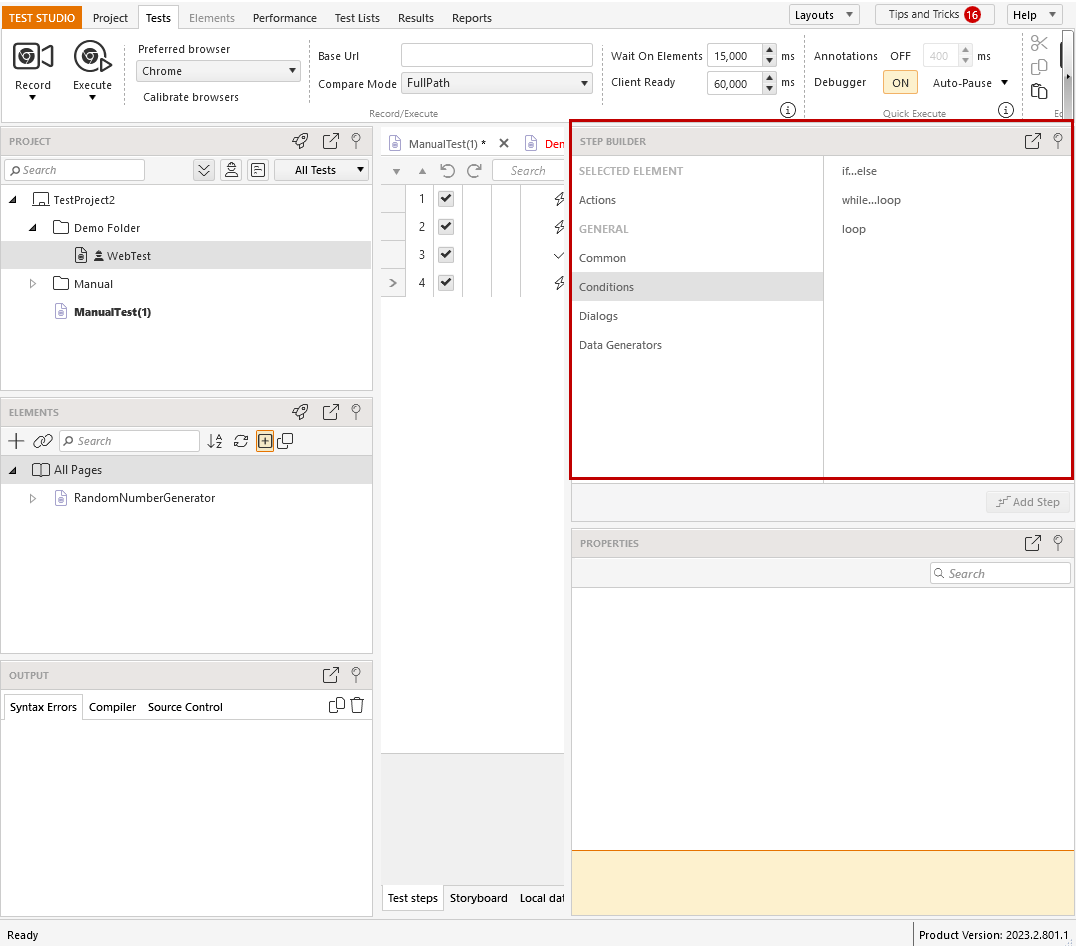
The Advanced Recording Tools window can help build a wide range of automation and verification quickly and without having to resort to manual configuration. There are some common steps like adding a comment, or clearing the browser cache, which need to be added outside of the recorded actions. The Step Builder pane in the project area provides a list of these additional steps and let's you maintain them in the tests.
Depending on the Test Studio project's layout you use, the Step Builder pane could be located on different place - usually on the right side of the project area, either pinned or hidden.
Add Step for a Recorded Element
The Step Builder can also be used to build steps against already recorded elements in the Elements Explorer.
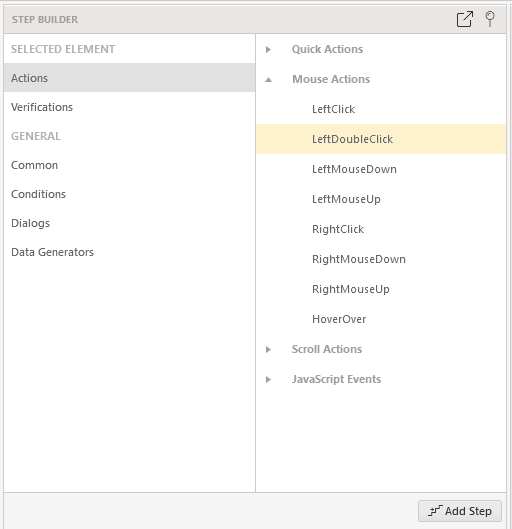
1. Open a test in which you need to add a step. Choose an element from the Elements Explorer.
2. Click the Step Builder pane to activate it. Under the Actions and Verification sections, you can see the options corresponding to the type of selected element.
3. Choose the action or verification you need and click the Add Step button to insert the step in the test.
Tip
You can check this short video demonstrating how to add a step for an existing element in Test Studio.
Add a General Step from the Step Builder
The General section in the Step Builder is divided in three sub-sections - Common, Conditions and Dialogs.
The Conditions section provides the option to add the built-in logical blocks - if..else, loop and while..loop.
The Dialogs section allows you to manually add steps for handling different dialogs.
The Common section consists of different steps suggestions based on the type of test - web, desktop or WPF.
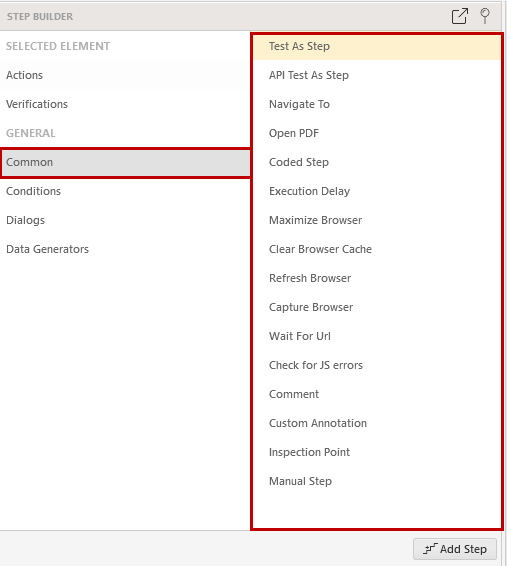 Web Test |
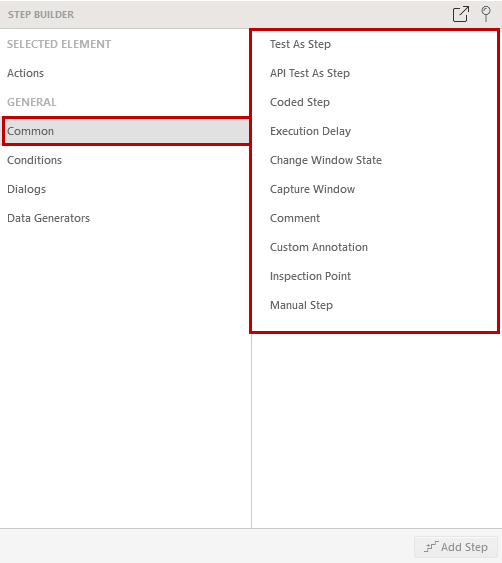 WPF Test |