The following tutorial is designed to walk you through the installation of TeamPulse. Note: If you are evaluating the hosted version of the trial, you can skip this page and go directly to Users & Licensing page. As a first step review TeamPulse system requirements here. TeamPulse requires the following components: Client Requirements Silverlight 5 Runtime
Server Requirements Note: You can allow the TeamPulse installer to install the above requirements automatically. It is not required both installations of SQL Server 2008 and TeamPulse to be on the same machine.
Only for Windows 8 and Windows Server 2012: the .Net Framework 4.5 Features -> WCF Services -> HTTP Activation feature needs to be installed.
Port Settings In order to access the TeamPulse components from client machines, you will need to open the following ports:
Installing TeamPulse
Pre-Installation Requirements
- ASP.NET (on Windows 8 and Windows Server 2012 enable ASP.NET 4.5)
- Access to an instance of SQL Server 2008 or above or a local version of the free SQL Server Express. Windows 7 users should use the 2008 version of SQL Server or SQL Server Express.
- IIS Management Console or IIS Management Service
- Windows Authentication
- Default Document
- Static Content
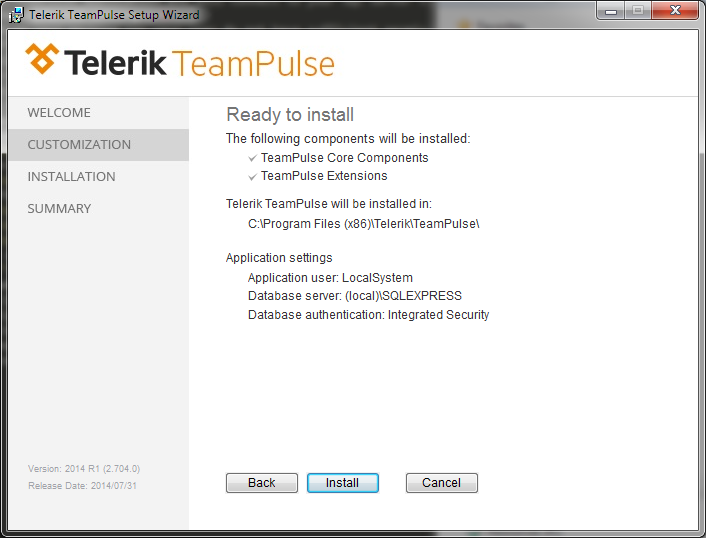
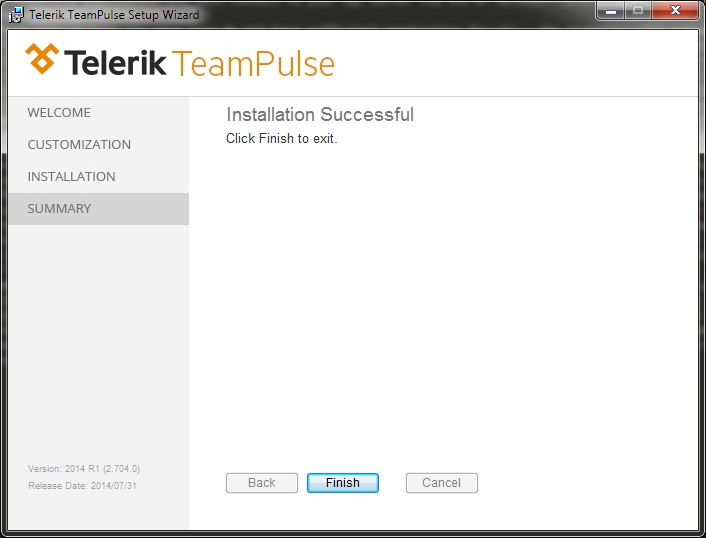
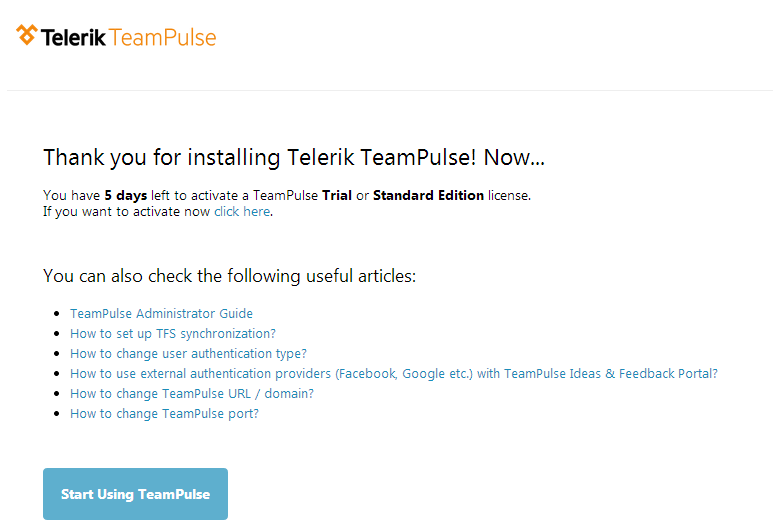
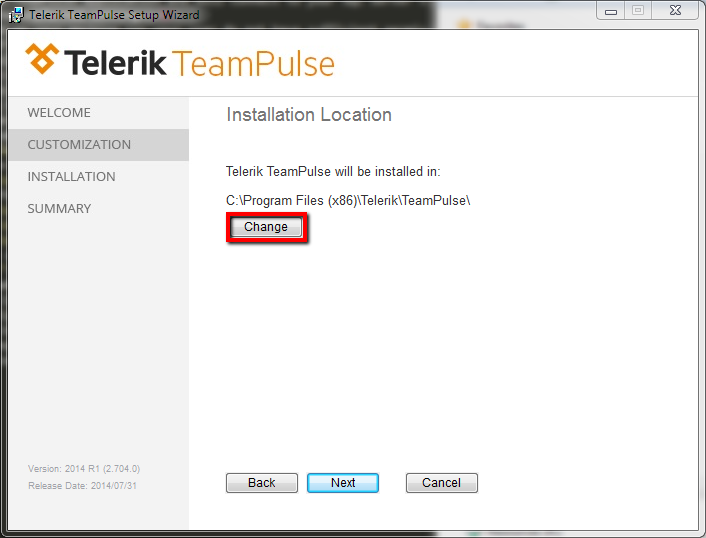
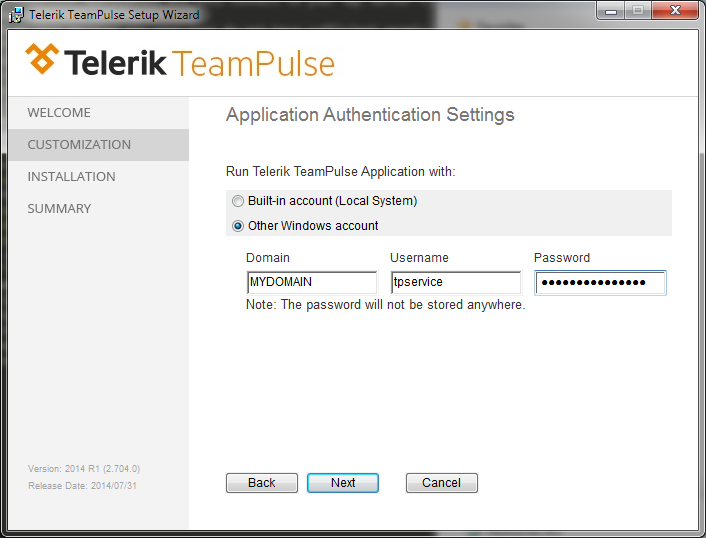
Installation Steps
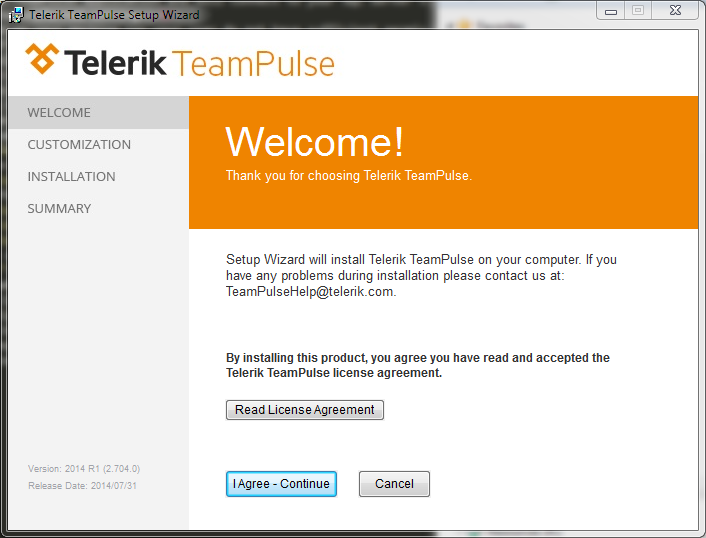

Installer investigates if your system meets the pre-requisites and if they are met, you can continue by selecting “Next”. If any of the requirements are not met you could choose to configure web server automatically during installation.
If using a local SQL server instance you can use the credentials provided or SQL server authentication. Once options and server are option are selected click on “Test Connection” to verify connection to SQL exist.
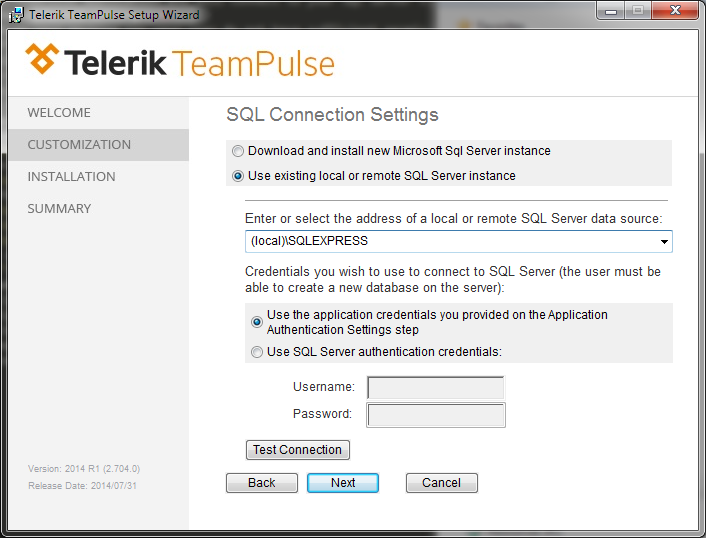
Once options and server are selected click on “Test Connection” to verify connection to SQL exist.