Installing TeamPulse
The following tutorial is designed to walk you through an installation of TeamPulse Standard Edition and Standard Edition Trial.
TeamPulse requires the following components:
- - Silverlight 5 Runtime on the client
- - Microsoft .NET Framework 4.0 RTM or later to be installed on your server. The RTM version is version 4.0.30319 when examined in the installed programs.
- - A SQL Server 2008 or 2012 database (Express or Full version) on your server
Note: If you want to install a newer version of TeamPulse over an already existing installation - we strongly recommend that you perform a backup of your database and the file structure of your old version of the application (you might need it for a backup of some configuration files).
Pre-Installation Requirements
On Client
Silverlight 5 download
On Client
Windows Server 2008 / 2012 or Windows 7 / 8 Professional, Enterprise, or Ultimate editions. Ports 9896, 9898 on the server must be available and open to the client.
The TeamPulse installer will automatically try to install the following prerequisites (Webserver IIS7+ features, .Net Framework 4.0, SQL Server 2008). Only in case the installer fails to set them - you will need to do it manually.
Webserver IIS 7+
- ASP.NET (on Windows 8 and Windows Server 2012 enable ASP.NET 4.5)
- IIS Management Console or IIS Management Service
- Windows Authentication
- Default Document
- Static Content
Note: If IIS is not configured correctly, the TeamPulse Installer will attempt to configure it automatically.
Only for Windows 8 and Windows Server 2012: the .Net Framework 4.5 Features -> WCF Services -> HTTP Activation feature needs to be installed. Microsoft .NET Framework 4.0 RTM version 4.0.30319 or later
Access to an instance of SQL Server 2008 or 2012 (Supports Express Editions)
In order to access the TeamPulse components from client machines, you will need to open the following ports:
9896 – TeamPulse Ideas & Feedback Portal (available when licensed)
9898 – Administration Site and TeamPulse Client Site
Installation Steps for Standard/Trial Edition
- Run the TeamPulse installer MSI package
- Examine the welcome screen, please take time to read the license agreement by clicking “Read License Agreement” and if you agree click on “I Agree – Continue”

- Choose the setup type – Express or Custom

- If “Express” installation is selected you will get a confirmation that TeamPulse is ready to install with the default values
- If “Custom” installation if selected your first option will to configure the installation location. You can change the default location by selecting “Change”. Once done click on “Next”.

- Installer investigates if your system meets the pre-requisites and if they are met, you can continue by selecting “Next”. If any of the requirements are not met you could choose to configure web server automatically during installation.
- Configure the authentication setting for TeamPulse

- Configure the SQL server connection settings. NOTE: If no SQL server is available on the network TeamPulse can download and install a SQL server instance.
If using a local SQL server instance you can use the credentials provided or SQL server authentication. Once options and server are option are selected click on “Test Connection” to verify connection to SQL exist.

Once options and server are selected click on “Test Connection” to verify connection to SQL exist. - Review the installation summary and select “Install” to being installing TeamPulse on the server.
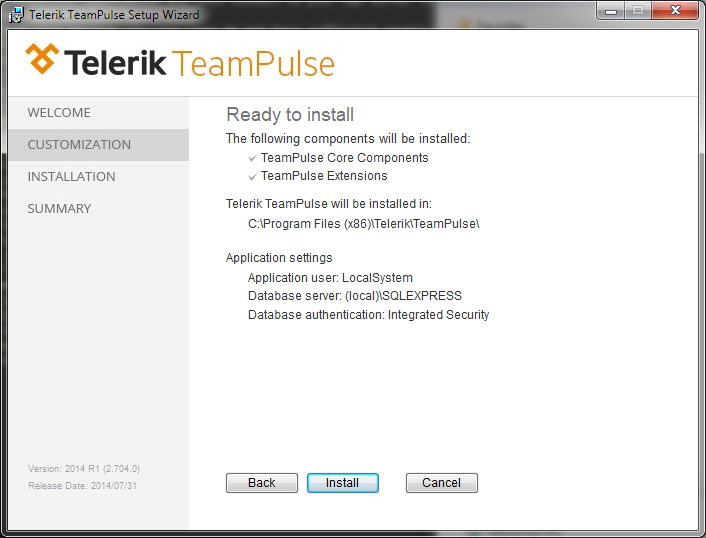
- TeamPulse is now installed on your server.

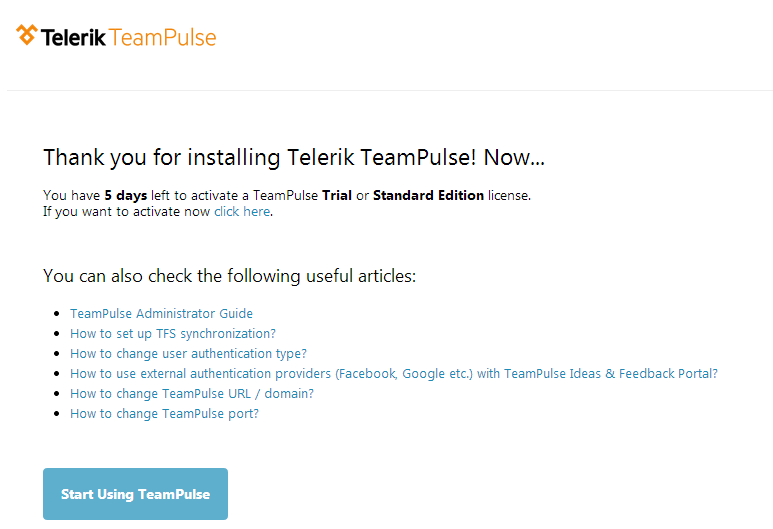
- Upon completion the installer will launch the welcome page, which will guide you through several steps to activate TeamPulse and access resources.