Declaratively
This tutorial will walk you through the common task of populating RadTreeView with RadTreeViewItems declaratively.
Here is a regular treeview declaration without items:
<telerik:RadTreeView x:Name="radTreeView" Background="Bisque" Margin="8">
</telerik:RadTreeView>
In order to add treeview items you need to use the Items property. The Items property is an ItemCollection which contains your treeview items. For example, insert the following lines to the declaration of your treeview and new items will be added to the treeview.
<telerik:RadTreeView x:Name="radTreeView" Background="Bisque" Margin="8">
    <telerik:RadTreeView.Items>
        <telerik:RadTreeViewItem Header="Category1"/>
        <telerik:RadTreeViewItem Header="Category2"/>
        <telerik:RadTreeViewItem Header="Category3"/>
        <telerik:RadTreeViewItem Header="Category4"/>
        <telerik:RadTreeViewItem Header="Category5"/>
    </telerik:RadTreeView.Items>
</telerik:RadTreeView>
Here is the result:
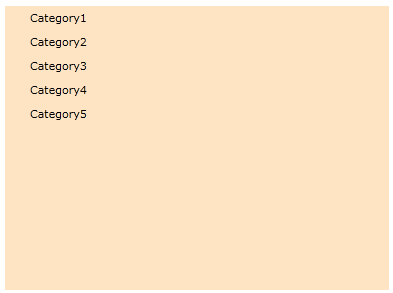
Consider adding RadTreeViewItems directly, without specifying telerik:RadTreeView.Items explicitly. The effect will be the same, but your XAML will be more readable:
<telerik:RadTreeView x:Name="radTreeView" Background="Bisque" Margin="8">
    <telerik:RadTreeViewItem Header="Category1"/>
    <telerik:RadTreeViewItem Header="Category2"/>
    <telerik:RadTreeViewItem Header="Category3"/>
    <telerik:RadTreeViewItem Header="Category4"/>
    <telerik:RadTreeViewItem Header="Category5"/>
</telerik:RadTreeView>
Each one of the RadTreeViewItem nodes <telerik:RadTreeViewItem Header="Category1"/> in the example above represents declaration of a single treeview item that will be created and added to your treeview control at run-time. Just insert or delete RadTreeViewItem child nodes to/from your treeview declaration and see how the treeview structure changes.
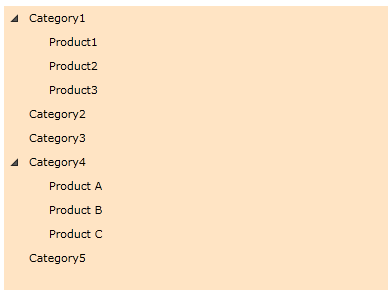
In order to create your hierarchical structure deeper, you just need to add RadTreeViewItem child nodes to any of the previously declared items. For example:
<telerik:RadTreeView x:Name="radTreeView" Background="Bisque" Margin="8">
    <telerik:RadTreeViewItem Header="Category1">
        <telerik:RadTreeViewItem Header="Product1"/>
        <telerik:RadTreeViewItem Header="Product2"/>
        <telerik:RadTreeViewItem Header="Product3"/>
    </telerik:RadTreeViewItem>
    <telerik:RadTreeViewItem Header="Category2"/>
    <telerik:RadTreeViewItem Header="Category3"/>
    <telerik:RadTreeViewItem Header="Category4">
        <telerik:RadTreeViewItem Header="Product A"/>
        <telerik:RadTreeViewItem Header="Product B"/>
        <telerik:RadTreeViewItem Header="Product C"/>
    </telerik:RadTreeViewItem>
    <telerik:RadTreeViewItem Header="Category5"/>
</telerik:RadTreeView>
Consider declaring treeview items in XAML instead of adding them by code whenever it's possible. This includes situations when you know what items you need at design time.