How to Use RadOutlookBar as a Container in Prism Application
This help article will show you how to use RadOutlookBar as a container for hosting views.
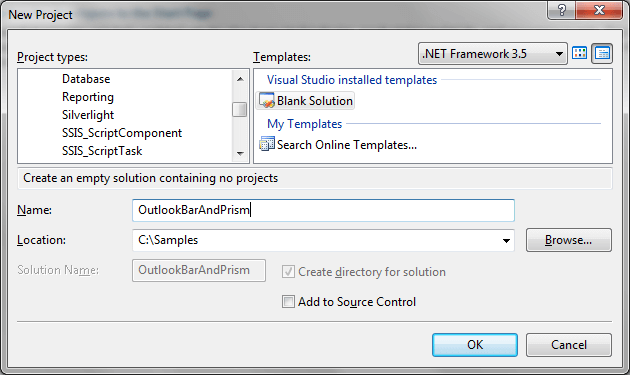
Start off by creating an empty Visual Studio solution. Call this solution OutlookBarAndPrism.
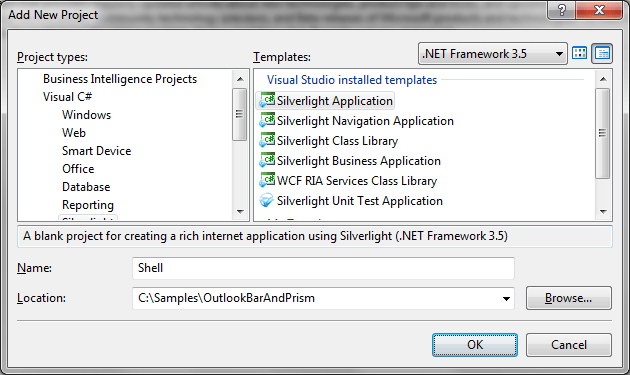
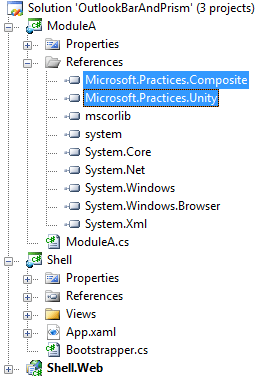
Then, add a Silverlight project and call it Shell.
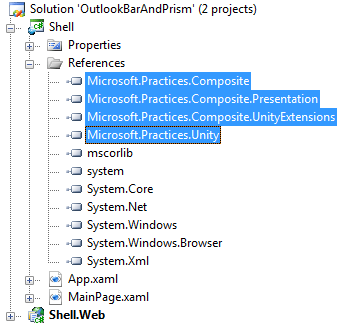
Add references to:
- Microsoft.Practices.Composite.dll
- Microsoft.Practices.Composite.Presentation.dll
- Microsoft.Practices.Composite.UnityExtensions.dll
- Microsoft.Practice.Unity.dll
You can download the latest binaries from here. Further information on how to download and build prism can be found here.
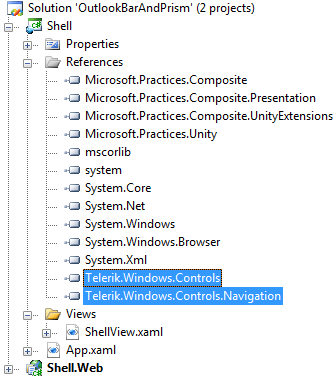
Then, add references to:
- Telerik.Windows.Controls.dll
- Telerik.Windows.Controls.Navigation.dll
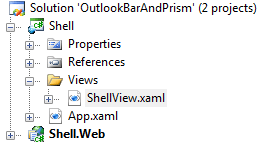
Delete MainPage.xaml(along with MainPage.xaml.cs), add a new folder called Views and add a UserControl called ShellView to the Views folder.
Open ShellView.xaml and add a RadOutlookBar control. Register the RadOutlookBar control with Prism’s RegionManager by giving it a RegionName. In this case, registration can happen in XAML by annotating a UIElement with a RegionName attached property.
<Grid>
    <Grid.ColumnDefinitions>
        <ColumnDefinition Width="300" />
        <ColumnDefinition Width="*" />
    </Grid.ColumnDefinitions>
    <!--xmlns:prism="clr-namespace:Microsoft.Practices.Composite.Presentation.Regions;assembly=Microsoft.Practices.Composite.Presentation"-->
    <telerik:RadOutlookBar prism:RegionManager.RegionName="OutlookBarRegion" />
</Grid>
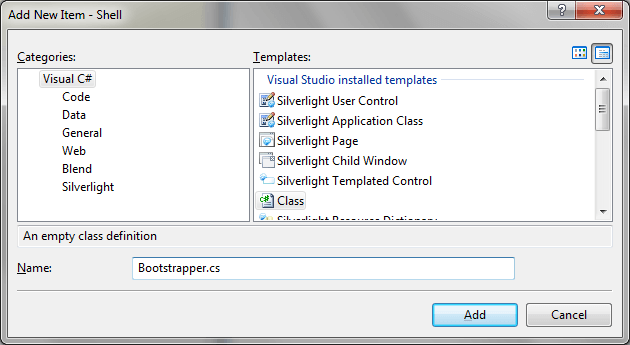
Next, we need to add a bootstrapper class to the Shell project.
The Bootstrapper inherits UnityBootstrapper and is the starting point of every Prism application. Two common tasks need to be done every time a Bootstrapper is used:
Create Shell
Create Module Catalog
For the moment we will do just step 1.
public void Initialize()
{
    // Register views here.
    this.regionManager.RegisterViewWithRegion("OutlookBarRegion", () =>
    {
        return new ModuleAView().OutlookBarItem;
    });
}
Public Sub Initialize()
    Me.regionManager.RegisterViewWithRegion("OutlookBarRegion", Function()
                                                                    Return New ModuleAView().OutlookBarItem
                                                                End Function)
End Sub
Now we have to actually run the bootstrapper. Go to App.xaml.cs and modify the Application_Startup event handler.
private void Application_Startup(object sender, StartupEventArgs e)
{
    Bootstrapper bootstrapper = new Bootstrapper();
    bootstrapper.Run();
}
Private Sub Application_Startup(sender As Object, e As StartupEventArgs)
    Dim bootstrapper As New Bootstrapper()
    bootstrapper.Run()
End Sub
Now if you run the application in this state, you will get the following error.

This error is caused by the fact that currently there are no modules to display, so let’s add one.
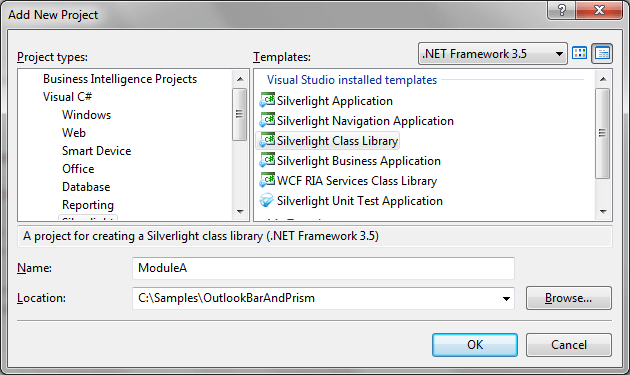
Add a new Silverlight Class Library to the OutlookBarAndPrism solution and called it ModuleA.
Remove the Class1.cs file that is added by default.Add reference to Microsoft.Practices.Composite.dll and Microsoft.Practices.Unity.dll. Add a new class to the ModuleA class library and call it ModuleA.
It is not required that the class library and the newly added class have the same name.
Make ModuleA class implement the IModule interface. The IModule interface contains a method, void Initialize, which we will have to implement.
public class ModuleA : IModule
{
    IUnityContainer container;
    IRegionManager regionManager;

    public ModuleA(IRegionManager regionManager, IUnityContainer container)
    {
        this.regionManager = regionManager;
        this.container = container;
    }

    public void Initialize()
    {
        // Register views here.
    }
}
Public Class ModuleA
    Implements IModule
    Private container As IUnityContainer
    Private regionManager As IRegionManager

    Public Sub New(regionManager As IRegionManager, container As IUnityContainer)
        Me.regionManager = regionManager
        Me.container = container
    End Sub

    Public Sub Initialize()
    End Sub
End Class
We will be back shortly with the implementation of the Initialize method.
Now, add a new folder to the ModuleA class library and call it Views. Add a new UserControl to the Views folder and call it ModuleAView. ModuleAView will contain a RadTreeView. Therefore, we need to add references to Telerik.Windows.Controls.dll and Telerik.Windows.Controls.Navigation.dll to ModuleA class library. This is how ModuleAView might look like:
<UserControl xmlns="http://schemas.microsoft.com/winfx/2006/xaml/presentation"
     xmlns:x="http://schemas.microsoft.com/winfx/2006/xaml"
     xmlns:telerik="http://schemas.telerik.com/2008/xaml/presentation">
    <Grid Background="White">
        <telerik:RadTreeView>
            <telerik:RadTreeViewItem Header="ModuleA Item 0">
                <telerik:RadTreeViewItem Header="ModuleA Item 0.1" />
            </telerik:RadTreeViewItem>
            <telerik:RadTreeViewItem Header="ModuleA Item 1">
                <telerik:RadTreeViewItem Header="ModuleA Item 1.1" />
            </telerik:RadTreeViewItem>
        </telerik:RadTreeView>
    </Grid>
</UserControl>
public void Initialized()
{
    // Register views here.
    this.regionManager.RegisterViewWithRegion("OutlookBarRegion", () =>
    {
        return new ModuleAView();
    });
}
Public Sub Initialized()
    ' Register views here.'
    Me.regionManager.RegisterViewWithRegion("OutlookBarRegion", Function()
                                                                    Return New ModuleAView()

                                                                End Function)
End Sub
If you remember, in the ShellView we registered the RadOutlookBar using prism:RegionManager.RegionName="OutlookBarRegion". That is why the first parameter in the RegisterViewWithRegion is called OutlookBarRegion.
Now let’s leave ModuleA for a bit and go back to the Bootstrapper class in Shell. So far, we have done only one of two necessary tasks:
- Create Shell (done)
- Create Module Catalog
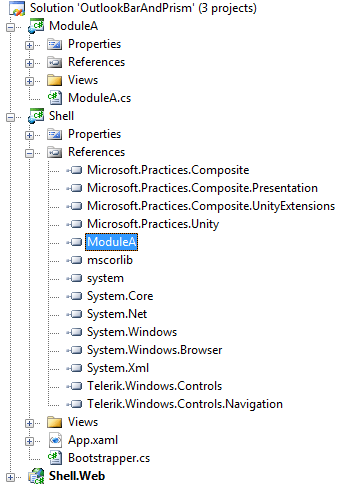
Since we have added a module, let’s create a module catalog. First of all, add a reference to the ModuleA class library.
Then open the Bootstrapper class and override the GetModuleCatalog() method.
protected override IModuleCatalog GetModuleCatalog()
{
    ModuleCatalog catalog = new ModuleCatalog();
    catalog.AddModule(typeof(ModuleA.ModuleA));
    return catalog;
}
Protected Overrides Function GetModuleCatalog() As IModuleCatalog
    Dim catalog As New ModuleCatalog()
    catalog.AddModule(GetType(ModuleA.ModuleA))
    Return catalog
End Function
So far, if you run the project you should get result similar to the one bellow:
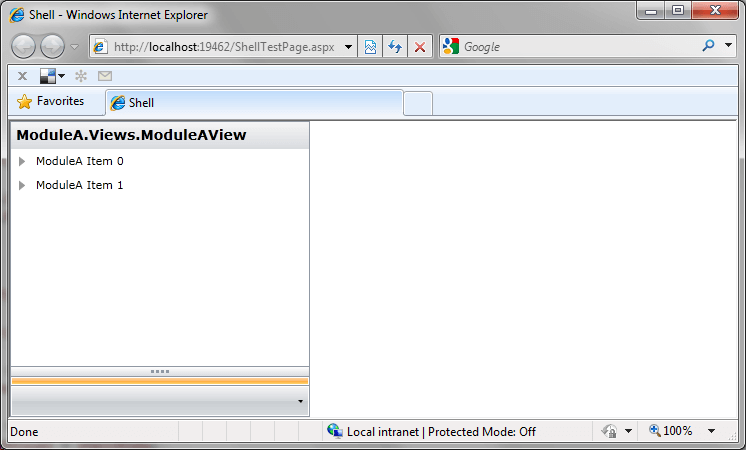
Strangely, the RadOutlookBarItem has no header and the title is a .ToString() representation of the ModuleAView class. To fix that we can add an ItemHeader property to the ModuleAView user control.
public ModuleAView()
{
    InitializeComponent();
    this.ItemHeader = "ModuleA";
}

public string ItemHeader { get; set; }
Public Sub New()
    InitializeComponent()
    Me.ItemHeader = "ModuleA"
End Sub

Public Property ItemHeader() As String
    Get
        Return m_ItemHeader
    End Get
    Set(value As String)
        m_ItemHeader = Value
    End Set
End Property
Private m_ItemHeader As String
Then, go to the RadOutlookBar’s definition in ShellView.xaml and add a DisplayMemberPath property pointing to Header.
<telerik:RadOutlookBar prism:RegionManager.RegionName="OutlookBarRegion" DisplayMemberPath="ItemHeader" />
The last thing that needs to be done is to make the Title area display ModuleA as well. The fastest way to do this is to use the TextSearch class that is located in the Telerik.Windows.Controls namespace in Telerik.Windows.Controls.dll.
public ModuleaView()
{
    this.InitializeComponent();
    this.ItemHeader = "ModuleA";
    Telerik.Windows.Controls.TextSearch.SetText(this, "ModuleA");
}
Public Sub New()
    Me.InitializeComponent()
    Me.ItemHeader = "ModuleA"
    Telerik.Windows.Controls.TextSearch.SetText(Me, "ModuleA")
End Sub
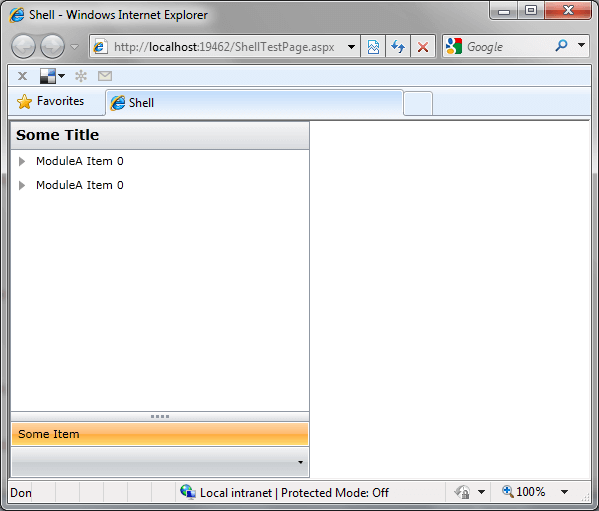
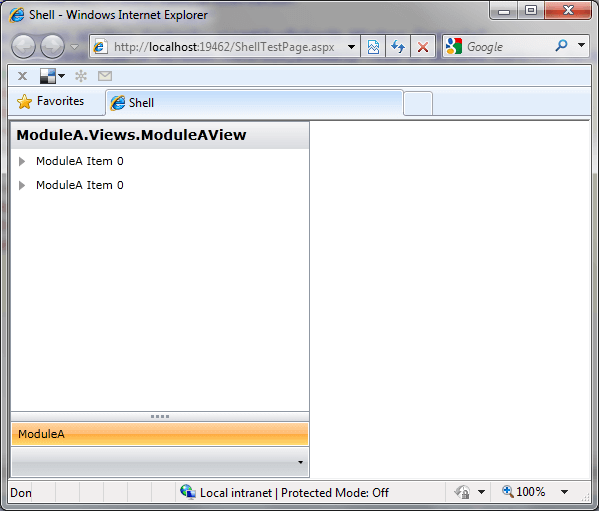
Now if you run the project, the output should be similar to the one bellow.
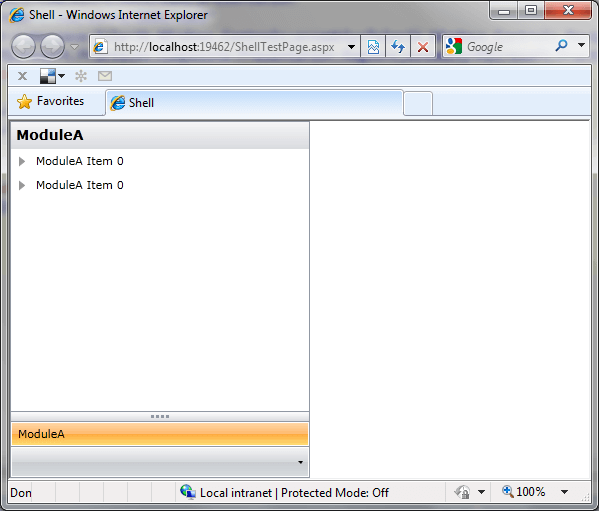
Another approach to this scenario is to insert an actual RadOutlookBarItem. What I mean by that is instead of having in ModuleAView.xaml:
<Grid Background="White">
    <telerik:RadTreeView>
        <telerik:RadTreeViewItem Header="ModuleA Item 0">
            <telerik:RadTreeViewItem Header="ModuleA Item 0.1" />
        </telerik:RadTreeViewItem>
        <telerik:RadTreeViewItem Header="ModuleA Item 0">
            <telerik:RadTreeViewItem Header="ModuleA Item 0.1" />
        </telerik:RadTreeViewItem>
    </telerik:RadTreeView>
</Grid>
<Grid Background="White">
    <telerik:RadOutlookBarItem x:Name="outlookBarItem1"
                               Title="Some Title"
                               Header="Some Item">
        <telerik:RadTreeView>
            <telerik:RadTreeViewItem Header="ModuleA Item 0">
                <telerik:RadTreeViewItem Header="ModuleA Item 0.1" />
            </telerik:RadTreeViewItem>
            <telerik:RadTreeViewItem Header="ModuleA Item 0">
                <telerik:RadTreeViewItem Header="ModuleA Item 0.1" />
            </telerik:RadTreeViewItem>
        </telerik:RadTreeView>
    </telerik:RadOutlookBarItem>
</Grid>
public ModuleAView()
{
    InitializeComponent();
}
public RadOutlookBarItem OutlookBarItem
{
    get
    {
        return this.outlookBarItem1;
    }
}
Public Sub New()
    InitializeComponent()
End Sub
Public ReadOnly Property OutlookBarItem() As RadOutlookBarItem
    Get
        Return Me.outlookBarItem1
    End Get
End Property
In the Initialize() method of ModuleA.cs we will use the previously created OutlookBarItem property:
public void Initialize()
{
    // Register views here.
    this.regionManager.RegisterViewWithRegion("OutlookBarRegion", () =>
    {
        return new ModuleAView().OutlookBarItem;
    });
}
Public Sub Initialize()
    Me.regionManager.RegisterViewWithRegion("OutlookBarRegion", Function()
                                                                    Return New ModuleAView().OutlookBarItem
                                                                End Function)
End Sub
Remove DisplayMemeberPath from RadOutlookBar’s definition in ShellView.xaml and run the project. If you get the following error, then we are on the right track.
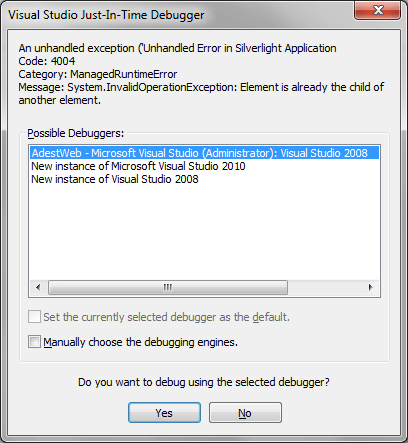
The reason for it is that whatever is defined in LayoutRoot of ModuleAView.xaml is a child of ModuleAView, but we are adding it to RadOutlookBar as well. Thus the problem, one and the same visual element cannot appear on more than one place in the visual tree of the application. To overcome this issue, in the constructor of ModuleAView we need to remove whatever is in LayoutRoot.
public ModuleAView()
{
    InitializeComponent();
    this.LayoutRoot.Children.Clear();
}

public RadOutlookBarItem OutlookBarItem
{
    get
    {
        return this.outlookBarItem1;
    }
}
Public Sub New()
    InitializeComponent()
    Me.LayoutRoot.Children.Clear()
End Sub

Public ReadOnly Property OutlookBarItem() As RadOutlookBarItem
    Get
        Return Me.outlookBarItem1
    End Get
End Property
Now if you run the project, everything should be fine.