Theming the RadSplitContainer
To modify the appearance of the RadSplitContainer you have to create a custom theme and place a style that targets the RadSplitContainer control in it. The topic assumes that you have already created a theme with a ResourceDictionary that will host the styles and the resources for your custom theme. If not take a look at the overview section about creating the theme. The topic also assumes that you have already created the style that will be used for the RadSplitContainer control. To learn how to style it take a look at the Styling the RadSplitContainer topic.
Copy the created style with all of the resources it uses and place it in the ResourceDictionary that represents the theme for your RadDocking control.
<ResourceDictionary xmlns="http://schemas.microsoft.com/winfx/2006/xaml/presentation"
    xmlns:x="http://schemas.microsoft.com/winfx/2006/xaml">
    <!--Paste the style and all of the resources it uses here. -->
    <Style x:Key="RadSplitContainerStyle" TargetType="telerik:RadSplitContainer">
        <!--...-->
    </Style>
</ResourceDictionary>
The next step is to declare the required namespaces in the resource dictionary.
<ResourceDictionary xmlns="http://schemas.microsoft.com/winfx/2006/xaml/presentation"
    xmlns:x="http://schemas.microsoft.com/winfx/2006/xaml"
    xmlns:telerik="http://schemas.telerik.com/2008/xaml/presentation">
    <!--...-->
</ResourceDictionary>
<Style TargetType="telerik:RadSplitContainer">
    <!--...-->
</Style>
public App()
{
    InitializeComponent();
    StyleManager.SetTheme( this.radDocking, new RadDockingTheme());
}
Public Sub New()
    InitializeComponent()
    StyleManager.SetTheme(Me.radDocking, New Theme())
End Sub

Private Property radDocking As DependencyObject
Finally in order to make the style default for all of the __RadSplitContainer__controls you have to set it to the following value.
<Style x:Key="{telerik:ThemeResourceKey ThemeType={x:Type local:RadDockingTheme}, ElementType={x:Type telerik:RadSplitContainer}}"
TargetType="{x:Type telerik:RadSplitContainer}">
    <!--...-->
</Style>
To see how to apply the theme read here.
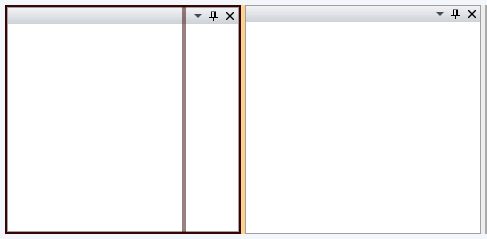
Here is a snapshot of a sample result.