Creating a Simple Context Menu
This tutorial will walk you through creating a simple RadContextMenu and shows how to:
Use the RadMenu Item Editor to build a simple context menu.
Use the Targets collection to attach the context menu to another control.
Drag a RadContextMenu component from the toolbox onto your Web page. The RadContextMenu Smart Tag should appear automatically:
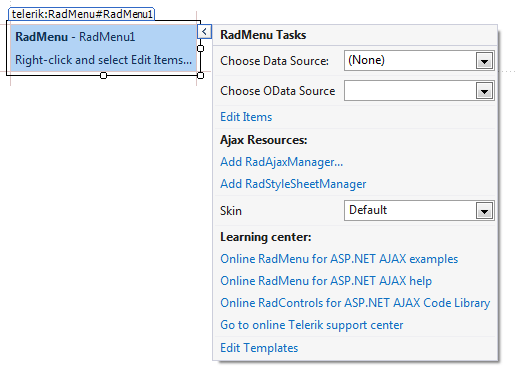
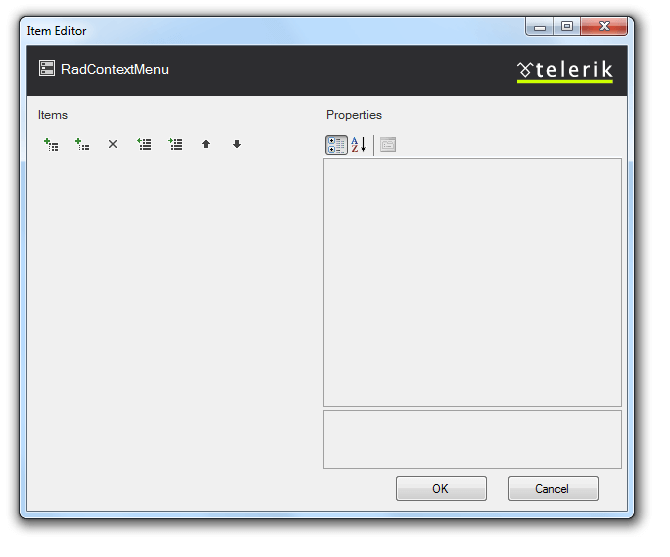
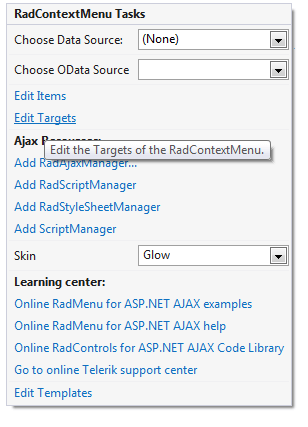
On the Smart Tag, choose Edit Items. The RadMenu Item Builder appears:
Click the Add root item button (
 ) to add a root item to your menu.
With the root item selected, click the Add child item button (
 ) to add a child to your root item.
Add some more root items, and child items using the Add root item button and the Add child item button:
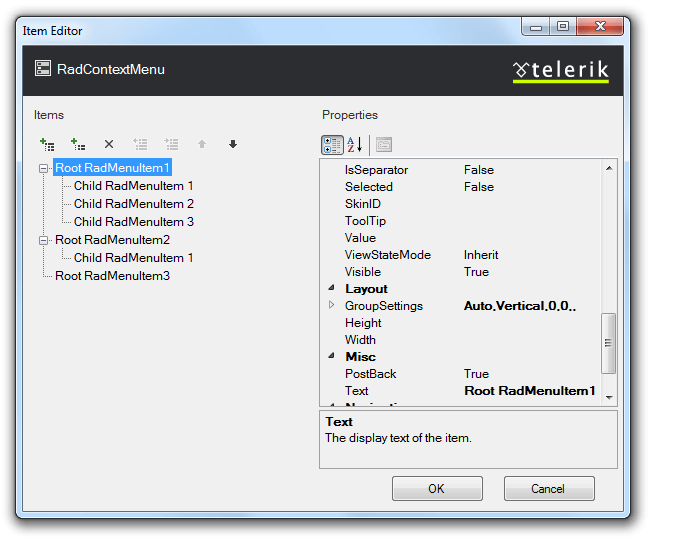
Select one of the child items, and change its IsSeparator property to True and its Text property to an empty string (""):

Click OK to confirm and exit.
Right click on the RadContextMenu, and from its context menu, choose Properties.
From the Standard area of the toolbox, drag a Label onto your page. Set its Text property to "Label1".
Move to the Source view of your Web page and locate the declaration of your RadContextMenu.
Select Edit Targets from the smart tag.
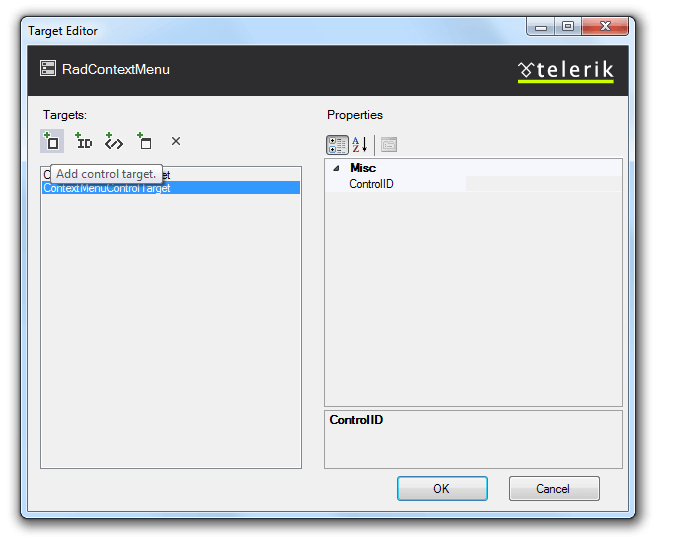
From the Target Editor select to Add Control Target. This attaches your context menu to a specific control, based on its ID:
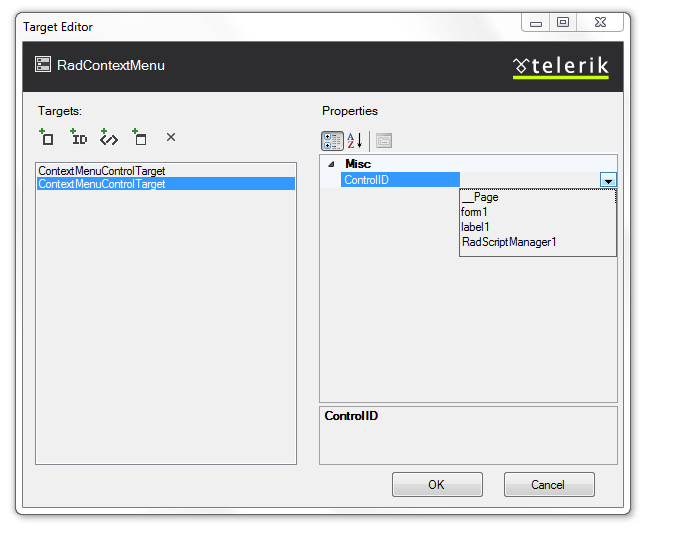
Select the ControlID attribute from the dropdown that appears:
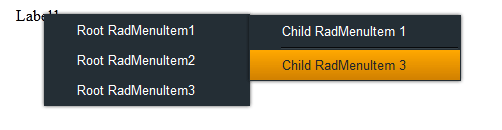
Select Ok and run the application. Right-click on the label and see your context menu appear: