Getting Started with the Telerik LightBox
The following help article will walk you through the process of setting a RadLightBox.
Configuring the control
Create a new webpage in Visual Studio.
-
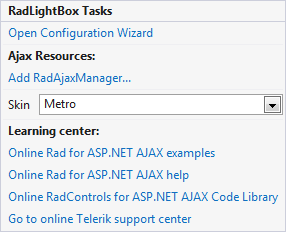
Drag a RadLightBox control from the toolbox onto your Web page. It's Smart Tag should appear automatically.
-
In the General section available after clicking Open Configuration Wizard you can select DataSource and set the Title and Description fields.

-
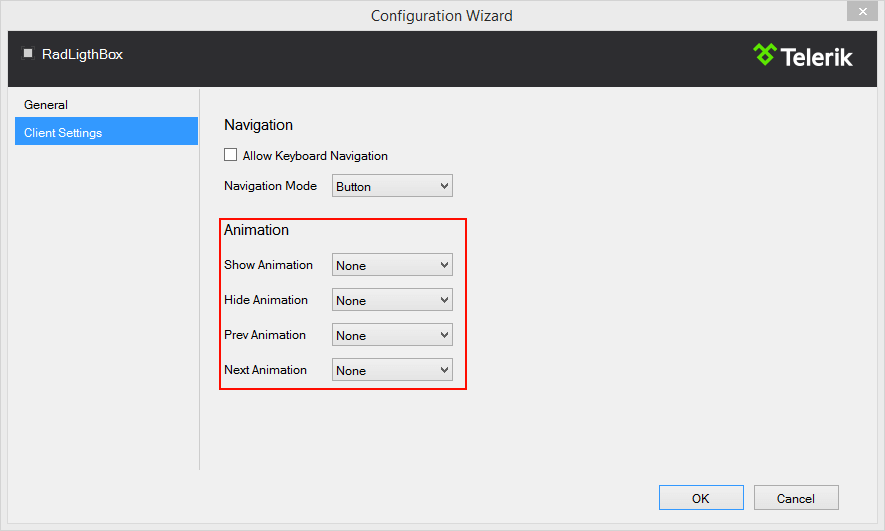
After we have selected our images source we need to configure the animations. This is achievable by clicking on the Client Settings section. As you can see now we can select a different animation to be performed when transitioning to the previous or next image and also a different animation when opening and closing the control.
That was it we now have a full-featured lightbox and are ready to go.