Getting Started Overview
The following tutorial demonstrates using RadEditor in a web page and adding content. This walkthrough also shows how to assign a predefined skin to the editor and how to add HTML to a list of snippets.
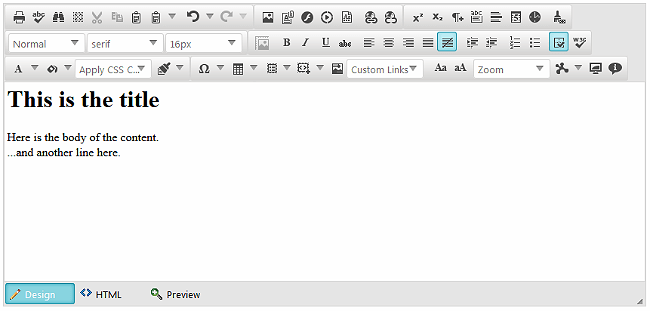
Figure 1: Shows a plain RadEditor control.
How to Enable RadEditor Dialogs
Add a RadEditor control from the ToolBox to an AJAX-enabled web page.
Right-click the RadEditor control and select Show Smart Tag.
From the Smart Tag menu, select the Enable RadEditor Dialogs link.
From the Smart Tag menu, select the Enable spell check for RadEditor link.
To properly enable the spell checking examine the Using Localization and Enabling the Spell Checking section.
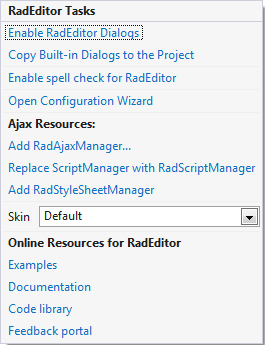
Figure 2: Shows all available RadEditor Smart Tag.
For further instructions and more information about the dialogs follow the articles in the Dialogs section.
Using Localization and Enabling the Spell Checking
Right-click the project and select Add | Add ASP.NET Folder | App_GlobalResources.
Copy the contents of the files located in the directory [Controls Installation Folder]\App_GlobalResources files to your project App_GlobalResources folder.
In the Solution Explorer, right-click the project and select Add | Add ASP.NET Folder | App_Data.
Copy the \RadSpell directory to your project App_Data folder. The files are located in the [Controls Installation Folder]\App_Data
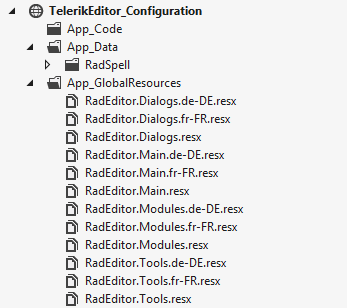
Figure 3: Shows the resulted project structure from the above steps.
For further instructions on these matters, please follow the Localization section orthe Spellchecker one in the documentation.
Configure RadEditor in the Properties Window
Open the RadEditor Smart Tag and select "Silk" from the Skin drop down list.
In the Properties Window for the editor set the Content property to
<h1>This is the title</h1> Here is the body of the content. <br /> ...and another line here.-
Also in the Properties Window, locate the Snippets property and click the ellipses to open the EditorSnippets Collection Editor. Click the Add button to create a new snippet. Set the Name property to "MyList" and the Value property to
<ol><li>One</li><li>Two</li><li>Three</li></ol>.Figure 4: Shows how an item is created in the EditorSnippets Collection Editor

Press F5 to run the application. Notice that the Content is formatted as HTML. Locate the Snippets drop down button and click the "MyList" entry to add your snippet to the current location of the text cursor.
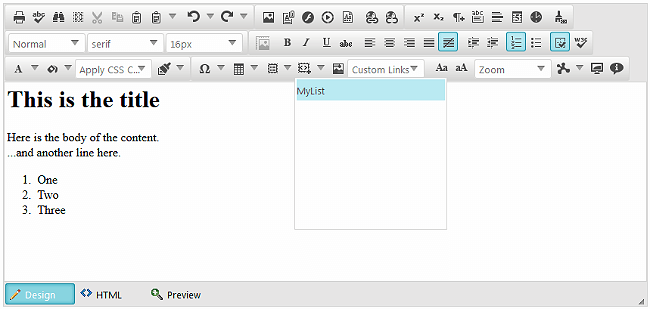
Figure 5: Shows the modified RadEditor control after adding HTML content and an item into the Snippet collection.
Getting Started with Adaptive Editor
If the application built is designed to be phone-optimized, you can consider using the Phone Layout of RadEditor. To learn more about it, you can follow the Phone Layout Getting Started and Phone Layout Elements Structure articles.