Table Editor
This article is relevant to entity models that utilize the deprecated Visual Studio integration of Telerik Data Access. The current documentation of the Data Access framework is available here.
The Table Editor dialog is a Visual Studio dialog which is integrated with the Telerik Data Access Visual Designer. It allows you to create and add a new table to the relational model, or to edit an existing one.

- Name - specifies the name of the table.
- Schema name - specifies the schema name.
-
Insert column - adds a new column to the table. Once a new column is added to the grid (table), you can edit its properties directly in the data grid:
- Name - specifies the name of the column.
- Identity - specifies whether the selected column is a primary key.
- Allow nulls - specifies whether the selected column accepts null values.
- SQL Type - specifies the SQL type of the selected column.
- Delete column - deletes the selected column from the table.
- Backend Calculated - specifies whether the selected column will be auto calculated at the server.
- Version field - specifies whether the selected column will be version field.
- Precision - specifies the number of digits in a number. For example, the number 123.45 has a precision of 5.
- Scale - specifies the number of digits to the right of the decimal point in a number. For example, the number 123.45 has a scale of 2.
How to Start the Table Editor
There are several possible places where the Table Editor can be started from:
From Model Schema Explorer
-
In the Model Schema Explorer, right-click the Table node and select Add new table. In this case, a new table with the specified name will be added to the Model Schema Explorer. However, the newly added table won't be mapped to any persistent type. In order to map it, select the table in Model Schema Explorer, right-click and select Map to persistent type. Additionally, the new table won't exist in the database. In order to create it on the server, you need to use the Update Database from Model Wizard.

-
In the Model Schema Explorer, right-click an existing table and select Edit table.
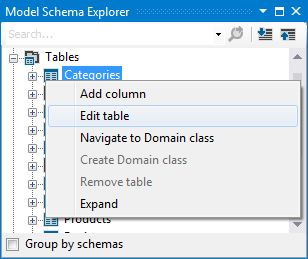
-
In the Model Schema Explorer, right-click an existing table and select Add column.
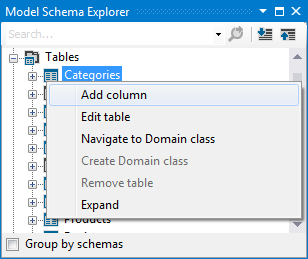
-
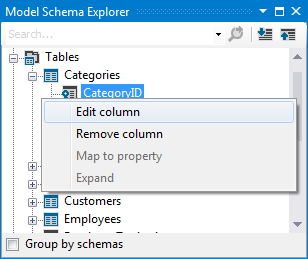
In the Model Schema Explorer, select a column, right-click and select Edit column.
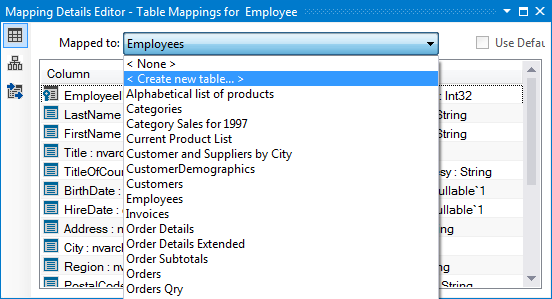
From Mapping Details Editor
When you have a class added to your domain model, but not mapped to a table (for example, just dragged from the toolbox), you can create a table for it from the mapping details editor.
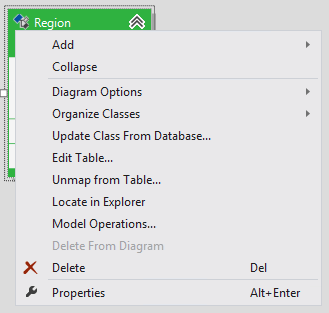
From the Visual Designer
When you have a mapped class, you can edit the underlying table. To do this, right-click the target entity and select Edit Table.